Classic Red Velvet Cake – Soft, Creamy and Dreamy
Introduction
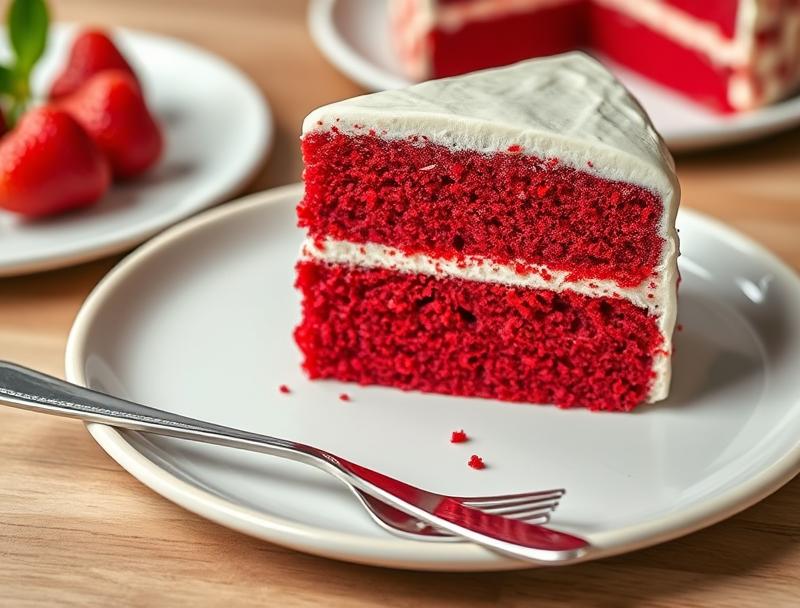
The allure of a classic red velvet cake is undeniable, with its distinctive red color, soft and moist texture, and a subtle cocoa flavor that’s balanced by a hint of tanginess. This cake is a masterpiece of texture and flavor, combining the richness of cream cheese frosting with the velvety smoothness of buttermilk, all wrapped up in a stunning red package. What’s even more appealing is how accessible this recipe is, using everyday ingredients and straightforward techniques that make it achievable for bakers of all levels. Whether you’re a seasoned pro or just starting out, this classic red velvet cake is sure to impress and delight, making it perfect for special occasions or simply as a treat to brighten up your day.
Why This Works
- The balance of flavors in this cake is a key element to its success, with the subtle bitterness of cocoa powder offset by the sweetness of sugar and the tang of buttermilk, creating a flavor profile that’s both deep and refreshing.
- The preparation of this cake is surprisingly straightforward, with simple steps that can be easily followed, making it a great option for those looking to create a stunning dessert without too much fuss.
- Despite its simplicity, the end result is nothing short of impressive, with the cake’s vibrant red color and the creamy white frosting making for a visually stunning dessert that’s sure to be the centerpiece of any gathering.
Ingredients
- 2 cups all-purpose flour
- 1 cup granulated sugar
- 2 teaspoons baking powder
- 1 teaspoon salt
- 1 cup unsalted butter, softened
- 2 large eggs
- 2 large egg yolks
- 2 teaspoons red food coloring
- 1 cup buttermilk
- 1 teaspoon vanilla extract
- 1 cup cream cheese frosting (see below for frosting ingredients)
Instructions
- Step 1: Preheat and Prep – Preheat your oven to 350°F (180°C). Grease and flour two 9-inch round cake pans. In a medium bowl, whisk together flour, sugar, baking powder, and salt.
- Step 2: Mix the Batter – In a large mixing bowl, use an electric mixer to beat the butter until it’s creamy, then add eggs one at a time, beating well after each addition. Beat in the red food coloring and vanilla extract.
- Step 3: Combine Wet and Dry Ingredients – With the mixer on low speed, gradually add the flour mixture to the wet ingredients in three parts, alternating with the buttermilk, beginning and ending with the flour mixture. Beat just until combined.
- Step 4: Bake the Cakes – Divide the batter evenly between the prepared pans and smooth the tops. Bake for about 30-35 minutes or until a toothpick inserted in the center comes out clean. Let the cakes cool in the pans for 10 minutes, then transfer them to a wire rack to cool completely.
- Step 5: Prepare the Frosting – For the cream cheese frosting, beat 8 ounces of softened cream cheese with 1/2 cup of unsalted butter until smooth. Gradually add 2 cups of powdered sugar, beating until smooth and creamy. Add 1 teaspoon of vanilla extract and mix well.
- Step 6: Assemble the Cake – Once the cakes are completely cool, place one layer on a serving plate and spread a thick layer of frosting on top. Place the second layer on top and frost the entire cake with the remaining frosting.
Handy Tips
- Make sure to use room temperature ingredients for the best results, as this will help the batter mix smoothly and evenly.
- Don’t overmix the batter, as this can lead to a dense cake. Stop mixing as soon as the ingredients are combined.
- For an extra moist cake, try adding an extra tablespoon or two of buttermilk.
Heat Control
When baking the cakes, it’s crucial to keep an eye on the temperature and the baking time. The ideal temperature is 350°F (180°C), and the cakes are done when a toothpick inserted into the center comes out clean. Overbaking can lead to dry cakes, so check them frequently towards the end of the baking time.
Crunch Factor
This cake is all about texture, with the soft and moist cake layers paired with the creamy frosting. To achieve the perfect texture, make sure not to overbake the cakes, and don’t overbeat the frosting, as this can make it too stiff.
Pro Kitchen Tricks
- For a more intense red color, use high-quality red food coloring and make sure to use the exact amount called for in the recipe.
- To ensure the cakes are perfectly level, bake them for the same amount of time and check them frequently towards the end of the baking time.
- For easy cake removal from the pans, make sure to grease and flour the pans properly before adding the batter.
Storage Tips
- The cake can be stored at room temperature for up to 3 days, covered with plastic wrap or aluminum foil.
- For longer storage, the cake can be refrigerated for up to 5 days or frozen for up to 2 months. When freezing, it’s best to freeze the cake layers separately and then assemble and frost the cake when you’re ready to serve.
- When reheating, let the cake come to room temperature or gently warm it in the microwave or oven.
Gift Packaging Ideas
This cake makes a wonderful gift, especially for special occasions like birthdays or weddings. Consider packaging the cake in a beautiful cake box or wrapping it in decorative plastic wrap or aluminum foil and topping it with a ribbon or gift tag.
Flavor Variations
- Try adding different extracts like almond or coconut to the batter for a unique flavor twist.
- For a chocolate version, increase the amount of cocoa powder or add melted chocolate to the batter.
- Consider using different types of milk, like almond or soy milk, for a non-dairy version of the cake.
Troubleshooting
- If the cakes don’t rise properly, check that your baking powder is fresh and that you didn’t overmix the batter.
- If the frosting is too thin, refrigerate it for about 10 minutes to firm it up before using.
- If the cake is too dense, try adding an extra tablespoon or two of buttermilk to the batter next time.
FAQs
- Can I freeze the cake? Yes, the cake can be frozen for up to 2 months. It’s best to freeze the cake layers separately and then assemble and frost the cake when you’re ready to serve.
- Is the cake gluten-free? No, this recipe uses all-purpose flour and is not gluten-free. However, you can try substituting the flour with a gluten-free flour blend for a gluten-free version.
- Can I double the recipe? Yes, you can easily double the recipe to make a larger cake. Just keep in mind that you’ll need to adjust the baking time accordingly.
Conclusion
Making a classic red velvet cake is a rewarding experience that’s sure to impress your family and friends. With its moist and flavorful cake layers, paired with the creamy and tangy cream cheese frosting, this cake is a true showstopper. Don’t be afraid to experiment and make the recipe your own, and don’t hesitate to reach out if you have any questions or need further guidance. Happy baking, and enjoy every delicious bite of your classic red velvet cake!
Classic Red Velvet Cake – Soft, Creamy and Dreamy
A classic red velvet cake recipe that yields a soft, creamy, and dreamy dessert, perfect for special occasions or everyday treats.
🥘 Ingredients
👩🍳 Instructions
-
1Preheat the oven to 350°F (180°C). Grease and flour two 9-inch round cake pans.
-
2Mix the batter by beating the butter and sugar, then adding eggs, red food coloring, and vanilla extract.
-
3Combine the wet and dry ingredients, alternating with buttermilk, beginning and ending with the flour mixture.
-
4Divide the batter evenly between the prepared pans and smooth the tops. Bake for 30-35 minutes or until a toothpick inserted in the center comes out clean.
-
5Prepare the frosting by beating the cream cheese and butter, then gradually adding powdered sugar.
-
6Assemble the cake by placing one layer on a serving plate, spreading a thick layer of frosting on top, and placing the second layer on top. Frost the entire cake with the remaining frosting.