Oreo Brownie Cookies – Fudgy, Crunchy and Totally Irresistible!
Introduction
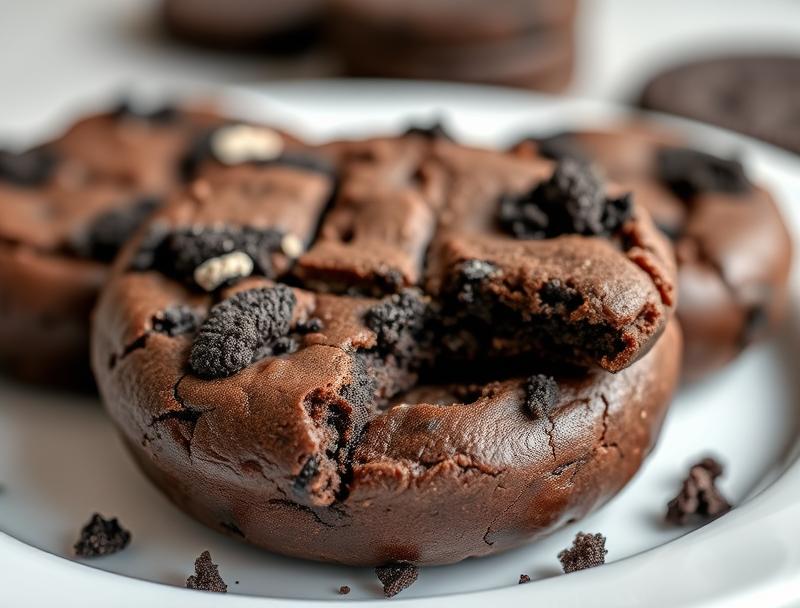
Imagine a cookie that combines the richness of a brownie with the crunch of an Oreo. Sounds too good to be true? Think again! These Oreo Brownie Cookies are not only a reality, but they’re also surprisingly easy to make using everyday ingredients. With their perfect balance of fudgy and crunchy textures, and a depth of flavor that will leave you wanting more, these cookies are sure to become a favorite among both kids and adults. The best part? They’re incredibly simple to prepare, requiring minimal effort for a result that’s sure to impress.
Why This Works
- Flavor balance and ingredient accessibility: The combination of Oreos and brownie mix creates a flavor profile that’s both familiar and exciting, using ingredients that are easily found in most supermarkets.
- Ease of preparation: Despite their impressive appearance and taste, these cookies are relatively quick to prepare, with a straightforward method that’s hard to mess up.
- Impressive results with minimal effort: The end result is a cookie that looks and tastes like it was bought from a bakery, but requires only a fraction of the time and effort you might expect.
Ingredients
- 1 and 1/2 sticks of unsalted butter, at room temperature
- 3/4 cup white granulated sugar
- 1 cup brown sugar
- 2 large eggs
- 2 teaspoons vanilla extract
- 1 and 1/4 cups all-purpose flour
- 1/2 cup unsweetened cocoa powder
- 1 teaspoon baking soda
- 1 teaspoon salt
- 1 cup crushed Oreos (about 20 cookies), divided
- Optional: chopped nuts or extra chocolate chips for added texture and flavor
Instructions
- Step 1: Preheat your oven to 375°F (190°C). Line a baking sheet with parchment paper or a silicone mat.
- Step 2: In a medium-sized bowl, whisk together the flour, cocoa powder, baking soda, and salt. Set aside.
- Step 3: In a large bowl, use an electric mixer to cream together the butter and sugars until light and fluffy, about 2-3 minutes. Beat in the eggs one at a time, followed by the vanilla extract.
- Step 4: Gradually mix in the dry ingredients (flour mixture) until just combined, being careful not to overmix. Stir in 3/4 cup of the crushed Oreos.
- Step 5: Scoop tablespoon-sized balls of dough onto the prepared baking sheet, leaving about 2 inches of space between each cookie.
- Step 6: Bake for 12-14 minutes or until the edges are set and the centers are just slightly underbaked. They will continue to cook a bit as they cool.
- Step 7: Remove the cookies from the oven and immediately press a few pieces of the remaining crushed Oreos onto the top of each cookie. This will help them stick.
- Step 8: Allow the cookies to cool on the baking sheet for 5 minutes before transferring them to a wire rack to cool completely.
Handy Tips
- For an extra fudgy center, don’t overbake the cookies. They should be slightly soft to the touch when removed from the oven.
- Experiment with different types of Oreos (like Mint or Peanut Butter) for unique flavor twists.
- Consider chilling the dough for 30 minutes to an hour to help the cookies retain their shape better during baking.
Heat Control
Maintaining the right oven temperature is crucial for achieving the perfect texture. Ensure your oven is at 375°F (190°C) for baking. The cookies are done when the edges are set, and the centers appear just slightly underdone. Overbaking can lead to hard, crunchy cookies instead of the desired fudgy texture.
Crunch Factor
The crunch in these cookies comes from the Oreos on top and the slight crispiness around the edges, contrasting beautifully with the fudgy interior. To enhance the crunch, make sure to press the additional Oreos onto the cookies immediately after baking, while they’re still warm.
Pro Kitchen Tricks
- Use a cookie scoop to ensure all cookies are uniform in size, which helps them bake evenly.
- If you find the dough too sticky, refrigerate it for about 10 minutes to firm it up before scooping.
- For cleaner edges and a more rounded shape, chill the shaped cookies on the baking sheet in the freezer for 5 minutes before baking.
Storage Tips
- Store the cookies in an airtight container at room temperature for up to 5 days. They can also be frozen for up to 2 months.
- For the best flavor and texture, consume the cookies within a couple of days of baking. If freezing, it’s best to freeze them without the additional Oreos on top and add those just before serving.
Gift Packaging Ideas
These cookies make a wonderful gift, especially when packaged in decorative jars or tins. Consider adding a ribbon around the jar and including a batch of your favorite hot cocoa mix for a cozy gift set. You can also wrap individual cookies in cellophane bags and tie them with twine for a more rustic look.
Flavor Variations
- Try using different flavors of Oreos, like Mint or Peanut Butter, for a twist on the classic.
- Add a handful of chopped nuts (walnuts or pecans work well) to the dough for added texture and flavor.
- Experiment with a teaspoon of espresso powder in the dough to intensify the chocolate flavor.
Troubleshooting
- If your cookies spread too much, it might be due to overly warm butter or not enough flour. Try chilling the dough before baking.
- For cookies that are too hard, check your oven temperature and baking time. Overbaking is a common culprit.
- If the Oreos don’t stick well to the top of the cookies, try pressing them onto the cookies when they’re still slightly warm from the oven.
FAQs
- Can I freeze the dough? Yes, you can freeze the cookie dough for up to 2 months. Simply scoop the dough into balls, place them on a baking sheet lined with parchment paper, and put the sheet in the freezer until the dough balls are frozen solid. Then, transfer them to a freezer-safe bag or container for storage. Bake frozen cookies for an additional 1-2 minutes.
- Is this recipe gluten-free? No, this recipe includes all-purpose flour and Oreos, both of which contain gluten. However, you can experiment with gluten-free flours and gluten-free Oreos for a gluten-free version.
- Can I double the recipe? Yes, you can easily double this recipe. Just keep in mind that you’ll need to adjust the baking time slightly for the increased number of cookies on the baking sheet.
Conclusion
With their irresistible combination of fudgy brownie centers and crunchy Oreo tops, these Oreo Brownie Cookies are sure to become a favorite in your household. They’re perfect for satisfying your sweet tooth, impressing friends and family, or just enjoying with a glass of cold milk. Don’t be afraid to experiment with different flavors and toppings to make the recipe your own, and enjoy the process of creating something truly special from such simple ingredients.
Oreo Brownie Cookies – Fudgy, Crunchy and Totally Irresistible!
A recipe for Oreo Brownie Cookies that combines the richness of a brownie with the crunch of an Oreo, perfect for those who love both textures and flavors.
🥘 Ingredients
👩🍳 Instructions
-
1Preheat the oven to 375°F (190°C).
-
2Whisk together the flour, cocoa powder, baking soda, and salt.
-
3Cream together the butter and sugars, then beat in the eggs and vanilla extract.
-
4Gradually mix in the dry ingredients, then stir in 3/4 cup of the crushed Oreos.
-
5Scoop tablespoon-sized balls of dough onto a baking sheet lined with parchment paper.
-
6Bake for 12-14 minutes or until the edges are set and the centers are slightly underbaked.
-
7Press additional crushed Oreos onto the top of each cookie immediately after baking.
-
8Allow the cookies to cool on the baking sheet for 5 minutes before transferring them to a wire rack to cool completely.