Irresistible Magic Cookie Bars Recipe
Introduction
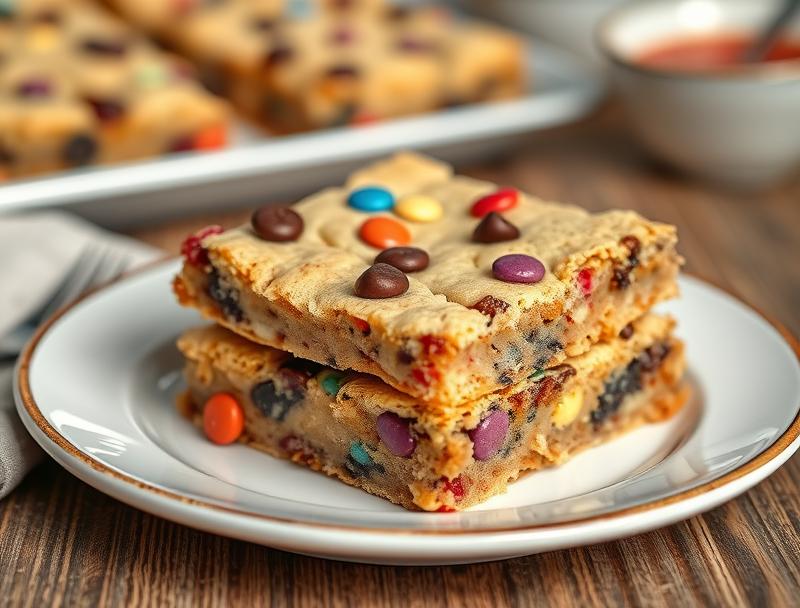
Imagine a dessert that combines the richness of chocolate, the crunch of nuts, and the simplicity of a cookie, all in one magical bar. The Irresistible Magic Cookie Bars Recipe is a dream come true for anyone with a sweet tooth. This recipe is not only easy to make but also highly customizable, allowing you to express your creativity with everyday ingredients. Whether you’re a beginner in the kitchen or a seasoned baker, these cookie bars are sure to impress. They’re perfect for potlucks, family gatherings, or as a sweet treat any day of the week. So, let’s dive into the world of magic cookie bars and discover the simplicity and joy of baking.
Why This Works
- Flavor balance and ingredient accessibility: The combination of sugar, butter, eggs, flour, and chocolate creates a perfect balance of flavors that everyone will love. Plus, these ingredients are easily found in most kitchens.
- Ease of preparation: Unlike intricate desserts that require precise measurements and techniques, these magic cookie bars are straightforward to prepare. The process involves simple mixing and baking, making it accessible to all skill levels.
- Impressive results with minimal effort: Despite the ease of preparation, the end result is a dessert that looks and tastes like it was made by a professional. The layered effect of the cookie base, the gooey chocolate, and any additional toppings you choose creates a visually appealing treat that’s sure to impress.
Ingredients
- 2 1/4 cups all-purpose flour
- 1 tsp baking soda
- 1 tsp salt
- 1 cup unsalted butter, softened
- 3/4 cup white granulated sugar
- 3/4 cup brown sugar
- 2 large eggs
- 2 cups semi-sweet chocolate chips
- 1 cup chopped walnuts (optional)
- Vanilla extract, to taste
Instructions
- Step 1: Preheat your oven to 350°F (180°C). Line an 8-inch square baking pan with parchment paper or aluminum foil, leaving some overhang for easy removal.
- Step 2: In a medium bowl, whisk together the flour, baking soda, and salt. Set aside. In a large bowl, use an electric mixer to cream together the butter and sugars until light and fluffy, about 2-3 minutes. Beat in the eggs one at a time, followed by the vanilla extract.
- Step 3: Gradually mix in the flour mixture until just combined, being careful not to overmix. Stir in the chocolate chips and walnuts (if using).
- Step 4: Press the dough into the prepared baking pan. Bake for 25-30 minutes or until the edges are lightly golden brown. The center may be slightly underbaked, but it will set as it cools. Let cool completely in the pan before cutting into bars.
Handy Tips
- For a chewier texture, bake for 23-25 minutes. For a firmer texture, bake for 30-32 minutes.
- Consider adding other mix-ins like dried cranberries, coconut flakes, or candy pieces to create different flavor combinations.
- Avoid overmixing the dough, as this can lead to tough cookie bars.
Heat Control
When baking, it’s crucial to keep an eye on the temperature and timing. The ideal baking temperature for these cookie bars is 350°F (180°C), and the baking time can range from 25 to 30 minutes, depending on your preference for chewiness. Signs of doneness include lightly golden edges and a set center. Remember, the cookie bars will continue to cook a bit after being removed from the oven, so it’s better to err on the side of underbaking than overbaking.
Crunch Factor
The crunch factor in these magic cookie bars comes from the walnuts (if you choose to include them) and the texture of the baked cookie itself. To achieve the perfect crunch, make sure not to overbake. The edges should be lightly golden and crispy, while the center retains some chewiness. If you prefer a crunchier cookie bar, you can bake for a few minutes longer or add more nuts to the dough.
Pro Kitchen Tricks
- Use high-quality chocolate for the best flavor. Semi-sweet chocolate chips provide a nice balance between sweet and bitter.
- Don’t overmix the dough. Stop mixing once the ingredients come together in a cohesive mass. This helps preserve the texture of the cookie bars.
- For easy cleanup, line your baking pan with parchment paper or aluminum foil. This also makes it simpler to remove the cookie bars once they’re cooled.
Storage Tips
- Store the cooled cookie bars in an airtight container at room temperature for up to 5 days.
- For longer storage, consider freezing the cookie bars. Wrap them tightly in plastic wrap or aluminum foil and place in a freezer-safe bag. Frozen cookie bars can be stored for up to 2 months. To thaw, leave at room temperature or reheat in the microwave.
- When reheating, be cautious not to overheat, as this can make the cookie bars dry. A few seconds in the microwave should be enough to warm them through without compromising their texture.
Gift Packaging Ideas
If you’re considering gifting these magic cookie bars, there are several ways to package them nicely. You can wrap individual bars in decorative paper or plastic wrap and tie with a ribbon. For a more rustic look, place a few bars in a mason jar and tie the lid with twine. Another option is to arrange the bars in a gift tin or on a platter, perfect for presenting at a gathering or as a hostess gift. Whatever method you choose, the recipient is sure to appreciate the thought and deliciousness of your homemade magic cookie bars.
Flavor Variations
- Different spices: Add a pinch of cinnamon, nutmeg, or cayenne pepper to give your cookie bars a unique twist.
- Creative toppings: After baking, press additional chocolate chips, nuts, or even candy pieces into the top of the warm cookie bars for extra flavor and texture.
- Ingredient swaps: Replace semi-sweet chocolate chips with milk chocolate, white chocolate, or a combination for different flavor profiles. You can also use different types of nuts or seeds for added crunch and nutrition.
Troubleshooting
- Texture problems: If your cookie bars turn out too hard, they may have been overbaked. Conversely, if they’re too soft, they might not have been baked long enough. Adjust the baking time accordingly for future batches.
- Ingredient replacements: If you’re missing an ingredient, consider substitutions. For example, you can use margarine instead of butter or applesauce as a replacement for some of the sugar.
- Over/undercooking signs: Keep an eye on your cookie bars while they bake. If the edges start to darken too quickly, cover the pan with foil to prevent overbrowning. If the center seems too raw, bake for a few minutes longer and check again.
FAQs
- Can I freeze it? Yes, these magic cookie bars can be frozen for up to 2 months. Wrap them tightly and store in a freezer-safe bag.
- Is it gluten-free? The recipe as written contains gluten due to the all-purpose flour. However, you can experiment with gluten-free flours to make a gluten-free version.
- Can I double the recipe? Yes, you can easily double the recipe to make a larger batch. Just be sure to use a larger baking pan to accommodate the increased volume of dough.
Conclusion
With the Irresistible Magic Cookie Bars Recipe, you’re not just baking a dessert; you’re creating memories. These cookie bars are perfect for sharing with friends and family, and their customizable nature means you can tailor them to any occasion or taste preference. Don’t be afraid to experiment with different ingredients and toppings to make the recipe your own. Whether you’re a seasoned baker or just starting out, this recipe is sure to become a favorite. So go ahead, get baking, and spread a little magic with every delicious bite!
Irresistible Magic Cookie Bars Recipe
A simple yet impressive dessert recipe combining cookie and chocolate bar elements, perfect for any occasion.
🥘 Ingredients
👩🍳 Instructions
-
1Preheat oven to 350°F (180°C).
-
2Prepare the baking pan by lining it with parchment paper or aluminum foil.
-
3Mix the dough by combining the flour, baking soda, salt, butter, sugars, eggs, chocolate chips, and walnuts (if using).
-
4Press the dough into the prepared baking pan and bake for 25-30 minutes or until lightly golden brown around the edges.