Easy Homemade Creamy Ice Cream Bars Recipe
Introduction
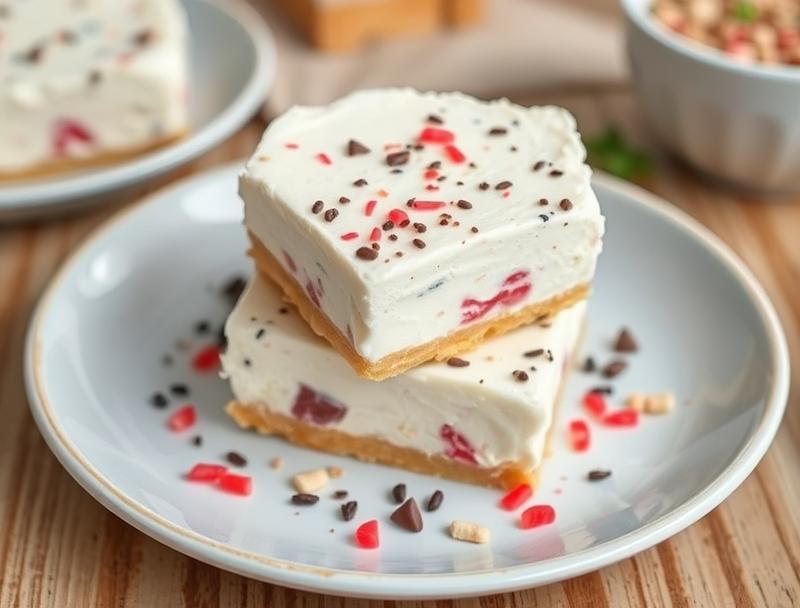
Indulge in the richness of creamy ice cream bars, made effortlessly in the comfort of your own home. This easy homemade creamy ice cream bars recipe is a game-changer for anyone with a sweet tooth, combining the simplicity of everyday ingredients with the creativity of various mix-ins and toppings. The best part? It’s incredibly easy to make and requires minimal special equipment, making it accessible to everyone. Whether you’re a fan of classic vanilla, decadent chocolate, or fruity twists, this recipe allows you to experiment with flavors and textures, ensuring that every bite is a delight for both kids and adults alike.
Why This Works
- Flavor balance and ingredient accessibility: The beauty of this recipe lies in its ability to balance flavors using common ingredients that are likely already stocked in your pantry and fridge.
- Ease of preparation: The steps are straightforward, and the process is quick, making it perfect for a spontaneous dessert or a planned gathering.
- Impressive results with minimal effort: Despite its simplicity, the end result is impressive and sure to please even the most discerning palates, making it a great option for entertaining.
Ingredients
- 2 cups heavy cream
- 1 cup whole milk
- 1/2 cup granulated sugar
- 1 tsp vanilla extract
- 1/4 cup unsalted butter, melted
- 1 1/2 cups mixed-ins of your choice (chocolate chips, nuts, candy pieces, etc.)
- 1 cup crushed cookies or wafers for the crust
- 1/4 cup melted butter for the crust
Instructions
- Step 1: Begin by preparing your ice cream base. In a medium saucepan, combine the heavy cream, whole milk, and granulated sugar. Heat over medium heat, stirring occasionally, until the sugar has dissolved and the mixture is hot but not boiling.
- Step 2: Remove the mixture from the heat and stir in the vanilla extract and melted butter until fully incorporated. Let the mixture cool to room temperature.
- Step 3: Cover the mixture and refrigerate it for at least 2 hours or overnight. Once chilled, pour the mixture into an ice cream maker and churn according to the manufacturer’s instructions.
- Step 4: During the last 2 minutes of churning, add your mixed-ins of choice to distribute them evenly throughout the ice cream. If you don’t have an ice cream maker, you can also freeze the mixture in a shallow metal pan, stirring every 30 minutes until the desired consistency is reached, which can take about 2 to 3 hours.
- Step 5: Prepare the crust by mixing the crushed cookies or wafers with the melted butter in a bowl until well combined. Press the mixture into the bottom of a 9×13 inch baking dish. Freeze the crust for about 10 minutes to set.
- Step 6: Once the ice cream is ready and the crust is set, spread the ice cream over the crust. Cover and freeze for at least 2 hours to firm up.
- Step 7: Cut into bars and serve. You can garnish with additional mixed-ins or toppings of your choice.
Handy Tips
- For a creamier ice cream, make sure not to over-churn, and use high-quality ingredients.
- Experiment with different mix-ins and toppings to find your favorite combinations.
- Consider using an instant-read thermometer to ensure your mixture doesn’t get too hot, which can affect the texture of your ice cream.
Heat Control
When heating the cream and sugar mixture, it’s crucial not to let it boil. Ideal temperatures should not exceed 170°F to 180°F. Monitor the heat and stir occasionally to prevent scorching. This step is about dissolving the sugar and warming the mixture, not cooking it.
Crunch Factor
The crunch factor in these ice cream bars comes from the crust and any mix-ins you choose, like nuts or candy pieces. To achieve the perfect crunch, ensure your crust is evenly spread and frozen until set. For mix-ins, fold them into the ice cream during the last minutes of churning or once the ice cream is frozen, to maintain their texture.
Pro Kitchen Tricks
- Use a variety of salts like sea salt or kosher salt to enhance flavors without adding more sugar.
- For a lighter ice cream, you can substitute some of the heavy cream with Greek yogurt or regular yogurt, but keep in mind this will slightly alter the flavor and texture.
- Keep your ice cream maker bowl in the freezer at all times to ensure it’s ready for use. If you’re using the “no-churn” method, having a spare metal loaf pan can be handy for quick freezing.
Storage Tips
- Store your ice cream bars in an airtight container in the freezer to maintain freshness. Wrap each bar individually in plastic wrap or aluminum foil for easy grabbing.
- For leftovers, press plastic wrap or wax paper directly onto the surface of the ice cream to prevent ice crystals from forming.
- These bars can be stored for up to 3 months in the freezer. For longer storage, consider transferring them to a freezer-safe bag or container, making sure to press out as much air as possible before sealing.
Gift Packaging Ideas
These ice cream bars make wonderful gifts, especially during warmer months or for special occasions. Consider packaging them in decorative paper or foil wrappers and placing them in a gift basket filled with other sweet treats. For a more personalized touch, you can also include a handwritten note with the flavor name and ingredients used. If you’re gifting them in a large quantity, a small cooler with ice packs can keep them frozen during transport.
Flavor Variations
- Different spices: Try adding a pinch of cinnamon, nutmeg, or cardamom to create unique and intriguing flavors.
- Creative toppings: Experiment with various toppings like caramel sauce, whipped cream, chopped nuts, or even candy pieces to add texture and flavor.
- Ingredient swaps: Replace the vanilla extract with another extract like almond or coffee for a different twist. You can also use different types of milk or cream for varying levels of richness.
Troubleshooting
- Texture problems: If your ice cream turns out too icy, it might be due to over-churning or not using enough fat (cream and butter) in the recipe. On the other hand, if it’s too soft, it could be under-churned or contain too much air.
- Ingredient replacements: Always consider the role of the ingredient you’re replacing. For example, if replacing heavy cream with a lighter alternative, you might need to adjust the sugar content or add stabilizers to maintain texture.
- Over/undercooking signs: Since this recipe doesn’t involve cooking in the traditional sense, be aware of the temperature and texture of your mixture. Overheating can lead to an icy texture, while under-churning can result in a soft serve consistency that doesn’t hold its shape well.
FAQs
- Can I freeze it? Yes, these ice cream bars can be frozen for up to 3 months. It’s recommended to wrap them tightly to prevent freezer burn.
- Is it gluten-free? No, if you’re using cookie crumbs that contain gluten for the crust. However, you can easily make it gluten-free by using gluten-free cookies or wafers.
- Can I double the recipe? Yes, you can double the recipe, but keep in mind that you might need to adjust the churning time if using an ice cream maker, and consider using a larger baking dish for the crust and ice cream.
Conclusion
Making your own creamy ice cream bars at home is not only a fun project but also a rewarding one, allowing you to customize flavors and textures to your heart’s content. With these easy steps and handy tips, you’re well on your way to creating delicious, professional-looking ice cream bars that are sure to impress family and friends. Don’t be afraid to experiment and share your creations on social media, and remember, the key to perfect ice cream is in the balance of flavors and textures, so don’t hesitate to try new combinations and ingredients. Happy churning!
Easy Homemade Creamy Ice Cream Bars Recipe
A simple and customizable recipe for making creamy ice cream bars at home, perfect for any occasion.
🥘 Ingredients
👩🍳 Instructions
-
1Prepare the ice cream base by combining heavy cream, whole milk, and granulated sugar in a saucepan. Heat until the sugar dissolves, then let cool.
-
2Churn the cooled mixture in an ice cream maker according to the manufacturer's instructions. Add mixed-ins during the last 2 minutes of churning.
-
3Prepare the crust by mixing crushed cookies or wafers with melted butter, then press into a 9x13 inch baking dish. Freeze until set.
-
4Spread the churned ice cream over the frozen crust, cover, and freeze for at least 2 hours to firm up.
-
5Cut into bars and serve. Consider garnishing with additional mixed-ins or toppings.