Easy Cheesy Pulled Chicken Tacos Ready in 20 Minutes
Introduction
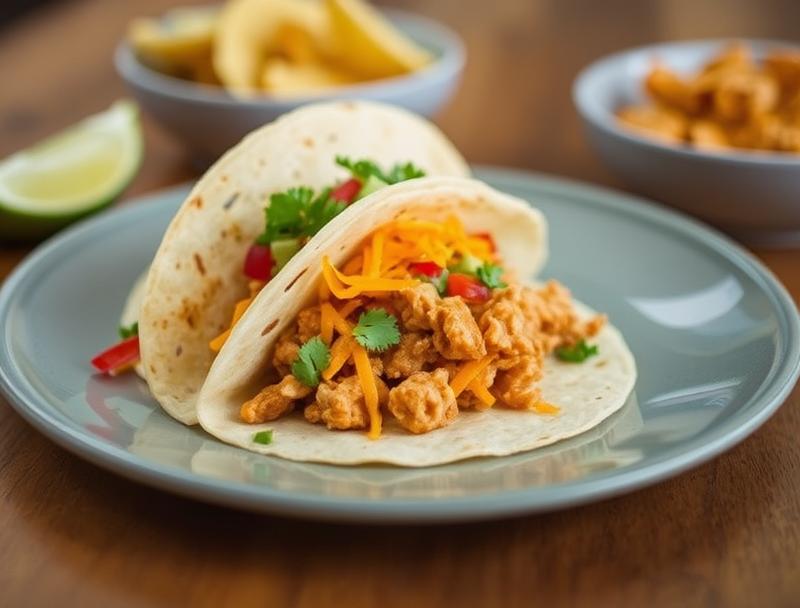
Imagine sinking your teeth into a tender, cheesy, and flavorful taco, filled with the richness of pulled chicken, all ready in just 20 minutes. This recipe for Easy Cheesy Pulled Chicken Tacos is a game-changer for anyone looking for a quick, delicious, and satisfying meal that can be customized to your taste. Using everyday ingredients and requiring minimal effort, this dish is perfect for busy weeknights, casual gatherings, or even a fun night in with the family. The beauty of this recipe lies in its simplicity and versatility, allowing you to get creative with your favorite toppings and sauces.
Why This Works
- Flavor balance and ingredient accessibility: This recipe strikes a perfect balance between flavors, from the tanginess of the cheese to the savory taste of the chicken, all made possible with easily accessible ingredients.
- Ease of preparation: With a preparation time of just a few minutes, this dish is incredibly easy to make, requiring minimal cooking skills and effort.
- Impressive results with minimal effort: Despite its simplicity, the end result is impressive and satisfying, making it perfect for serving to guests or enjoying as a family meal.
Ingredients
- 1 pound boneless, skinless chicken breasts
- 1/2 cup shredded cheese (Monterey Jack or Cheddar work well)
- 1/4 cup salsa
- 1 tablespoon olive oil
- 1 teaspoon cumin
- 1/2 teaspoon chili powder
- Salt and pepper, to taste
- 8-10 taco shells
- Optional toppings: diced tomatoes, shredded lettuce, diced avocado, sour cream, cilantro
Instructions
- Step 1: Begin by seasoning the chicken with cumin, chili powder, salt, and pepper. Heat the olive oil in a large skillet over medium-high heat and cook the chicken until it’s browned and cooked through, about 5-6 minutes per side. Once cooked, let the chicken rest for a few minutes before shredding it with a fork.
- Step 2: In the same skillet, add the salsa and stir to combine with the residual chicken juices. Bring the salsa to a slight simmer and let it cook for about 2 minutes, until it’s heated through and slightly reduced.
- Step 3: Add the shredded chicken back into the skillet with the salsa and stir until the chicken is well coated. Reduce heat to low and let it simmer while you prepare the tacos.
- Step 4: Warm the taco shells according to the package instructions. Assemble the tacos by spooning the cheesy pulled chicken into the shells, followed by your desired toppings. Serve immediately and enjoy!
Handy Tips
- For an extra burst of flavor, add some diced onions or bell peppers to the skillet with the chicken. They’ll soften and add a layer of sweetness to the dish.
- Consider using leftover chicken or rotisserie chicken to make the recipe even quicker.
- Don’t overfill the tacos, as this can make them difficult to eat. Balance is key to enjoying each bite fully.
Heat Control
Maintaining the right heat is crucial for cooking the chicken and warming the salsa. Medium-high heat is ideal for browning the chicken, while reducing the heat to low helps in simmering the salsa and keeping the chicken warm without overcooking it. Always check the chicken for doneness, ensuring it reaches an internal temperature of 165°F (74°C) to avoid undercooking.
Crunch Factor
The crunch in these tacos comes from the fresh toppings like lettuce, tomatoes, and the taco shells themselves. To maintain the crunch, prepare your toppings just before serving, and store the taco shells in an airtight container to keep them fresh. For an extra crunch, consider adding some crispy tortilla strips or fried onions on top of your tacos.
Pro Kitchen Tricks
- Use a meat shredder or two forks to shred the chicken quickly and evenly, ensuring all the fibers are well separated for the best texture.
- Keep your workspace organized by having all the toppings ready to go before assembling the tacos. This makes the process more efficient and enjoyable.
- For cleanup, soak any utensils or pans used with the salsa in warm soapy water to prevent the salsa from drying and sticking.
Storage Tips
- The cooked chicken and salsa mixture can be stored in an airtight container in the refrigerator for up to 3 days. Reheat gently before using.
- Taco shells are best stored in their original packaging or an airtight container to maintain freshness. Use them within a few days of opening.
- Leftover assembled tacos can be refrigerated for up to a day but are best consumed fresh for the best texture and flavor.
Gift Packaging Ideas
If you’re considering gifting this dish, perhaps for a potluck or as a meal for a friend, you can package the components separately. Place the cooked chicken and salsa mixture in a microwave-safe container, include a bag of taco shells, and offer a variety of toppings in small containers. Don’t forget to include a set of instructions on how to assemble and heat the dish. You can wrap these items in a gift basket or a large gift bag, adding a personal touch with a ribbon or a handwritten note.
Flavor Variations
- Different spices: Experiment with adding a pinch of cayenne pepper for a spicy kick or some smoked paprika for a smoky flavor.
- Creative toppings: Beyond the usual lettuce and tomatoes, consider adding diced mango, pickled onions, or a dollop of Greek yogurt for unique flavor combinations.
- Ingredient swaps: For a vegetarian version, swap the chicken with roasted and shredded portobello mushrooms or zucchini. You can also use different types of cheese or salsa to change up the flavor profile.
Troubleshooting
- Texture problems: If the chicken becomes too dry, try adding a bit more salsa or some broth to moisten it. If the tacos become too soggy, it might be due to overfilling or using low-quality taco shells.
- Ingredient replacements: If you don’t have certain ingredients, feel free to substitute them with similar alternatives. For example, you can use chicken broth instead of water to add more flavor.
- Over/undercooking signs: Always check the chicken’s internal temperature to avoid undercooking. If you notice the chicken is drying out, it might be overcooked. Adjust your cooking time accordingly based on the size and thickness of your chicken breasts.
FAQs
- Can I freeze it? Yes, you can freeze the cooked chicken and salsa mixture for up to 2 months. Simply thaw and reheat when you’re ready to assemble the tacos.
- Is it gluten-free? This recipe is naturally gluten-free, making it a great option for those with gluten intolerance. However, always check the ingredients of your taco shells and salsa to ensure they are gluten-free.
- Can I double the recipe? Absolutely! This recipe scales well, so feel free to double or triple the ingredients if you’re serving a larger crowd. Just adjust the cooking time slightly if you’re cooking more chicken at once.
Conclusion
With its quick preparation time, flavorful ingredients, and endless possibilities for customization, the Easy Cheesy Pulled Chicken Tacos recipe is sure to become a staple in your household. Whether you’re a busy professional looking for a weeknight dinner solution or a parent seeking a meal that both kids and adults will love, this dish delivers. Don’t be afraid to experiment with different toppings and flavors to make it your own, and enjoy the process of creating a delicious meal that brings people together. Happy cooking!
Easy Cheesy Pulled Chicken Tacos Ready in 20 Minutes
A quick and delicious recipe for cheesy pulled chicken tacos, ready in just 20 minutes. Perfect for busy nights or casual gatherings.
🥘 Ingredients
👩🍳 Instructions
-
1Season the chicken with cumin, chili powder, salt, and pepper. Cook in a skillet with olive oil until browned and cooked through.
-
2Add salsa to the skillet and simmer for 2 minutes.
-
3Shred the cooked chicken and add it back to the skillet, stirring to coat with the salsa mixture.
-
4Assemble the tacos by spooning the chicken mixture into warmed taco shells and adding desired toppings.