Chocolate Covered Cherry Rice Krispies Treats
Introduction
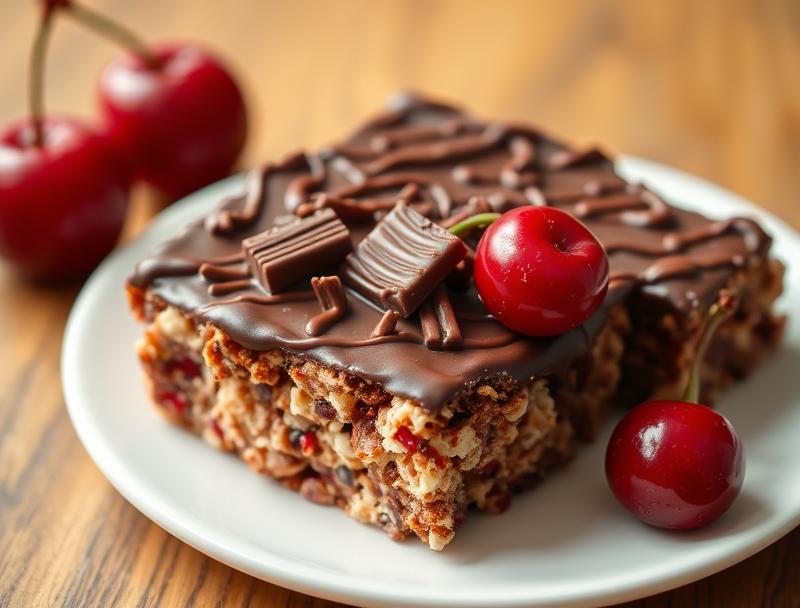
Indulge in the delightful fusion of crispy Rice Krispies treats, sweet cherries, and rich chocolate with our Chocolate Covered Cherry Rice Krispies Treats recipe. This creative dessert is not only a treat for the taste buds but also incredibly easy to make, requiring minimal ingredients and effort. Perfect for both kids and adults, these bite-sized treats are ideal for parties, gatherings, or as a simple dessert to brighten up any day. The best part? They’re made with everyday ingredients, making them accessible to anyone with a sweet tooth and a penchant for creativity in the kitchen.
Why This Works
- The balance of flavors between the sweetness of the cherries and chocolate and the slight crunch of the Rice Krispies provides a delightful taste experience.
- The ease of preparation makes it an excellent choice for those looking for a quick dessert solution without compromising on flavor or presentation.
- Despite the simplicity of the ingredients and the preparation process, the end result is impressive and sure to please both kids and adults, making it perfect for various occasions.
Ingredients
- 2 cups Rice Krispies cereal
- 1 cup marshmallows
- 1/4 cup melted butter or margarine
- 1 cup dried cherries
- 1 cup semisweet chocolate chips
- Optional: sprinkles, chopped nuts, or shredded coconut for garnish
Instructions
- Step 1: Begin by preparing your workspace. Lay out a piece of parchment paper or a silicone mat where you can work on your treats without them sticking.
- Step 2: In a large pot or saucepan, melt the butter or margarine over low heat. Add the marshmallows and stir until they are completely melted and the mixture is smooth. Remove from heat.
- Step 3: Quickly add the Rice Krispies cereal to the marshmallow mixture and stir until the cereal is well coated. Then, fold in the dried cherries.
- Step 4: Press the mixture into a greased 9×13 inch baking dish. Let it cool and harden for about 30 minutes.
- Step 5: Melt the chocolate chips in a double boiler or in the microwave in 30-second increments, stirring between each interval until smooth.
- Step 6: Cut the Rice Krispies treats into desired shapes or bars. Dip each treat into the melted chocolate, coating completely, and place on the prepared parchment paper or silicone mat. If desired, sprinkle with toppings before the chocolate hardens.
- Step 7: Let the chocolate harden completely. This can take about 30 minutes to an hour, depending on the temperature of your workspace.
- Step 8: Serve and enjoy! These treats are best consumed fresh but can be stored in an airtight container in the refrigerator for up to 5 days.
Handy Tips
- To avoid sticky hands, lightly grease your hands with butter or cooking spray before pressing the Rice Krispies mixture into the baking dish.
- For an extra cherry flavor, you can use cherry extract or cherry jam in the marshmallow mixture before adding the cereal.
- Experiment with different types of chocolate for varying flavor profiles. White chocolate or milk chocolate can offer a sweeter and creamier alternative to semisweet chocolate.
Heat Control
When melting the marshmallows and the chocolate, it’s crucial to use low heat to avoid burning or overheating, which can lead to an unpleasant texture or flavor. For the marshmallows, stir constantly to ensure even melting. For the chocolate, using a double boiler or heating in short intervals in the microwave and stirring between each interval can help maintain a smooth and melted consistency.
Crunch Factor
The crunch in these treats comes from the Rice Krispies cereal and can be enhanced by adding nuts or seeds to the cereal mixture before pressing it into the baking dish. The dried cherries add a chewy element, balancing out the textures. To maintain the crunch of the Rice Krispies, it’s best to consume the treats within a day or two of making them, as they can become softer over time.
Pro Kitchen Tricks
- To make the treats more visually appealing, use a variety of toppings such as sprinkles, chopped nuts, or shredded coconut to create different patterns or designs on top of the chocolate before the chocolate hardens.
- For a more intense chocolate experience, you can drizzle melted chocolate over the treats after they have been coated, creating a double-layered chocolate effect.
Storage Tips
- Store the treats in an airtight container to maintain freshness and crunch. If storing in the refrigerator, bring to room temperature before serving for the best flavor and texture.
- These treats can be made ahead of time, but it’s best to coat them with chocolate just before serving for the freshest flavor and best texture.
Gift Packaging Ideas
These chocolate-covered cherry Rice Krispies treats are perfect for gifting, especially during holidays or special occasions. Consider packaging them in decorative tins, gift boxes, or bags tied with ribbons. You can also add a personal touch by including a handwritten note or card. For a more rustic look, place the treats in mason jars and tie a ribbon around the lid.
Flavor Variations
- Experiment with different types of dried fruits, such as cranberries or raisins, for varying flavor profiles.
- Add a teaspoon of vanilla extract or almond extract to the marshmallow mixture for an enhanced flavor.
- Use different nuts or seeds, like walnuts or pumpkin seeds, for added crunch and nutrition.
Troubleshooting
- If the Rice Krispies treats become too hard, they can be softened by placing them in the microwave for a few seconds. Be cautious not to overheat.
- If the chocolate does not melt smoothly, try heating it in shorter intervals and stirring more frequently to avoid overheating.
- For treats that are too sticky, refrigerate them for about 10 minutes to firm up before serving.
FAQs
- Can I freeze them? Yes, you can freeze the Rice Krispies treats before coating them with chocolate. Simply place them in an airtight container or freezer bag and freeze for up to 2 months. Coat with chocolate after thawing.
- Is it gluten-free? Traditional Rice Krispies are gluten-free, making this recipe suitable for those with gluten intolerance. However, always check the ingredient labels of the specific brands you’re using to confirm.
- Can I double the recipe? Yes, you can easily double or triple the recipe to make more treats. Just ensure you have a large enough pot to handle the increased amount of marshmallows and cereal.
Conclusion
With these Chocolate Covered Cherry Rice Krispies Treats, you’ll have a dessert that’s both fun to make and delicious to eat. The combination of crunchy cereal, chewy cherries, and smooth chocolate is a winner, and the fact that it’s easy to prepare makes it perfect for any occasion. Feel free to experiment with the recipe, adding your own favorite ingredients or toppings to make it truly unique. Whether you’re a seasoned baker or a beginner in the kitchen, this recipe is sure to bring smiles and satisfaction. So go ahead, get creative, and enjoy the delightful world of Chocolate Covered Cherry Rice Krispies Treats!
Chocolate Covered Cherry Rice Krispies Treats
A delicious and easy-to-make dessert combining Rice Krispies treats with dried cherries and covered in chocolate.
🥘 Ingredients
👩🍳 Instructions
-
1Prepare the workspace with parchment paper or a silicone mat.
-
2Melt the butter and marshmallows in a saucepan over low heat, stirring constantly.
-
3Add the Rice Krispies cereal and dried cherries to the marshmallow mixture and stir until well combined.
-
4Press the mixture into a greased 9x13 inch baking dish and let cool.
-
5Melt the chocolate chips and dip each treat into the chocolate, coating completely.
-
6Place the chocolate-covered treats on the prepared parchment paper or silicone mat and let the chocolate harden.
-
7Serve and enjoy!