Creamy No-Bake Banana Split Dessert
Introduction
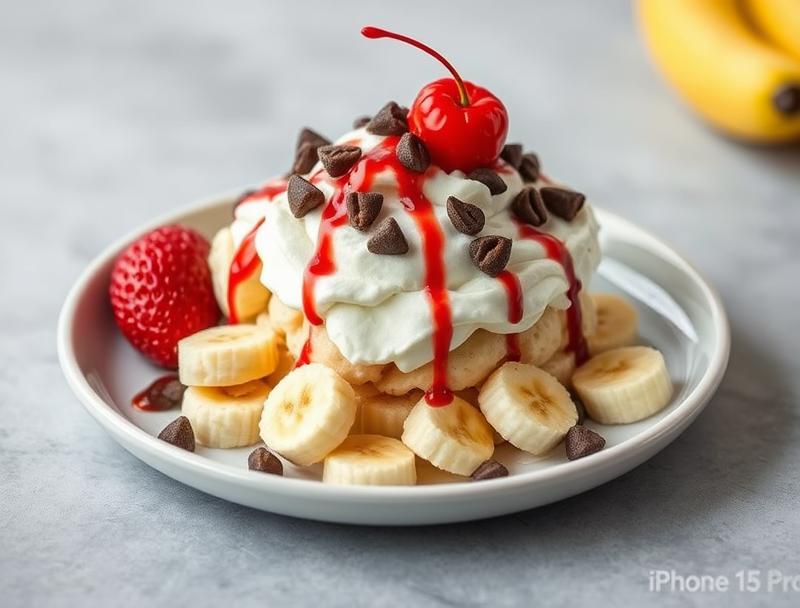
Indulge in the delightful world of no-bake desserts with our Creamy No-Bake Banana Split Dessert, a treat that combines the classic flavors of a banana split with the ease of a no-bake preparation. This dessert is perfect for warm days when you want to satisfy your sweet tooth without heating up your kitchen. By using everyday ingredients in a creative way, you can enjoy a dessert that’s both refreshing and decadent. The combination of creamy textures, sweet flavors, and the freshness of fruit makes this dessert a standout for any occasion, whether it’s a family gathering, a potluck, or just a sweet treat for yourself.
Why This Works
- The balance of flavors in this dessert, ranging from the sweetness of the bananas and cream to the tanginess of the chocolate and nuts, creates a delightful harmony that will leave you wanting more.
- The ease of preparation is a significant advantage, as it requires no baking and can be assembled in a short amount of time, making it perfect for last-minute dessert needs.
- Despite its simplicity, the presentation of this dessert can be quite impressive, especially when garnished with fresh fruits, nuts, and a drizzle of chocolate, making it a great choice for entertaining or special occasions.
Ingredients
- 4 large ripe bananas
- 1 cup of vanilla pudding mix
- 1 cup of milk
- 1/2 cup of heavy cream
- 1/4 cup of granulated sugar
- 1/2 cup of crushed peanuts or walnuts
- 1 cup of mixed berries (strawberries, blueberries, raspberries)
- 1 cup of chocolate chips (milk chocolate or semi-sweet)
- 1 teaspoon of vanilla extract
- Whipped cream for topping
- Chopped nuts and sprinkles for garnish (optional)
Instructions
- Step 1: Begin by preparing your ingredients. Slice the bananas into 1-inch pieces and set them aside. In a large bowl, whisk together the vanilla pudding mix, milk, and granulated sugar until well combined and smooth.
- Step 2: Add the heavy cream to the pudding mixture and whisk until the mixture starts to thicken. You can speed up the process by chilling the mixture in the refrigerator for about 5 minutes before whisking.
- Step 3: In a large serving dish or individual glasses, create a layer of sliced bananas. You can also add a few mixed berries on top of the bananas for extra flavor and color.
- Step 4: Pour the pudding mixture over the bananas, making sure they are completely covered. If using individual glasses, divide the pudding mixture evenly among them.
- Step 5: Sprinkle the crushed nuts over the pudding layer, followed by a layer of chocolate chips. You can melt the chocolate chips slightly in the microwave (in 10-second increments, stirring between each heating) to create a gooey chocolate layer, or leave them as is for a chunkier texture.
- Step 6: Top the dessert with whipped cream and garnish with additional mixed berries, chopped nuts, and sprinkles if desired.
- Step 7: Refrigerate the dessert for at least 30 minutes to allow the flavors to meld together and the pudding to set. Serve chilled and enjoy!
Handy Tips
- For a lighter version, you can use less sugar or substitute it with a natural sweetener like honey or maple syrup.
- Experiment with different types of nuts or seeds, like almonds or chia seeds, for added texture and nutrition.
- Consider using dairy-free alternatives to the milk and heavy cream for a vegan version of this dessert.
Heat Control
Since this is a no-bake dessert, heat control is minimal. However, if you choose to melt the chocolate chips, be cautious not to overheat them, as this can cause the chocolate to seize up or become too thin. Heating in short increments and stirring well between each heating can help achieve the perfect melted chocolate consistency.
Crunch Factor
The crunch factor in this dessert comes from the nuts and the texture of the chocolate chips. To enhance the crunch, you can toast the nuts lightly in a pan or oven before sprinkling them over the dessert. Additionally, using a variety of textures, such as adding some crispy cookies or wafers on top, can add depth and interest to the dessert.
Pro Kitchen Tricks
- To prevent the bananas from browning, sprinkle them with a little lemon juice after slicing.
- For a more intense chocolate flavor, use high-quality dark or semi-sweet chocolate chips.
- Chill your serving dishes or glasses in the freezer before assembling the dessert to keep everything cold and prevent the pudding from melting or becoming too runny.
Storage Tips
- This dessert is best served fresh, but it can be stored in the refrigerator for up to 24 hours.
- Cover the dessert with plastic wrap or aluminum foil to prevent it from absorbing other flavors in the fridge.
- If you’re preparing the components ahead of time, store the pudding mixture and the sliced bananas separately in the refrigerator until you’re ready to assemble the dessert.
Gift Packaging Ideas
This dessert can be beautifully packaged in individual glasses or jars, topped with a dollop of whipped cream and garnished with nuts and sprinkles. Consider adding a ribbon around the jar or a gift tag with a personal message for a thoughtful touch. For a more rustic look, you can serve the dessert in a large wooden bowl or a vintage glass dish, perfect for a family gathering or potluck.
Flavor Variations
- Try using different flavors of pudding mix, such as chocolate or strawberry, to change up the flavor profile of the dessert.
- Add a sprinkle of cinnamon or cocoa powder on top of the whipped cream for an extra layer of flavor.
- Experiment with various types of fruit, like mandarin oranges or kiwi, to add more variety to the dessert.
Troubleshooting
- If the pudding mixture becomes too thin, you can refrigerate it for a few minutes to allow it to thicken before assembling the dessert.
- If the bananas start to brown, sprinkle them with lemon juice and mix gently to prevent further browning.
- If the dessert starts to melt or becomes too runny, refrigerate it for about 10 minutes to firm it up before serving.
FAQs
- Can I freeze it? While it’s possible to freeze the components of this dessert separately, it’s not recommended to freeze the assembled dessert, as the texture and consistency may be affected.
- Is it gluten-free? This dessert is naturally gluten-free, making it a great option for those with gluten intolerance or sensitivity.
- Can I double the recipe? Yes, you can easily double or triple this recipe to serve a larger crowd. Just be sure to adjust the size of your serving dish accordingly.
Conclusion
With its creamy texture, sweet flavors, and refreshing twist on the classic banana split, this Creamy No-Bake Banana Split Dessert is sure to become a favorite in your household. The best part? It’s incredibly easy to make and requires no baking, making it perfect for any time of the year. Feel free to experiment with different flavors and toppings to make this dessert your own, and don’t hesitate to share your creations with friends and family. Happy cooking, and enjoy every bite of this delightful dessert!
Creamy No-Bake Banana Split Dessert
A refreshing no-bake dessert combining the classic flavors of a banana split with the ease of a creamy pudding, perfect for warm days and special occasions.
🥘 Ingredients
👩🍳 Instructions
-
1Prepare the ingredients by slicing the bananas and mixing the pudding.
-
2Create a layer of bananas in the serving dish, followed by a layer of pudding mixture.
-
3Add a layer of crushed nuts and chocolate chips on top of the pudding.
-
4Top with whipped cream and garnish with additional nuts and sprinkles if desired.
-
5Refrigerate for at least 30 minutes to allow the flavors to meld together and the pudding to set.