Heavenly Homemade Cream Puffs
Introduction
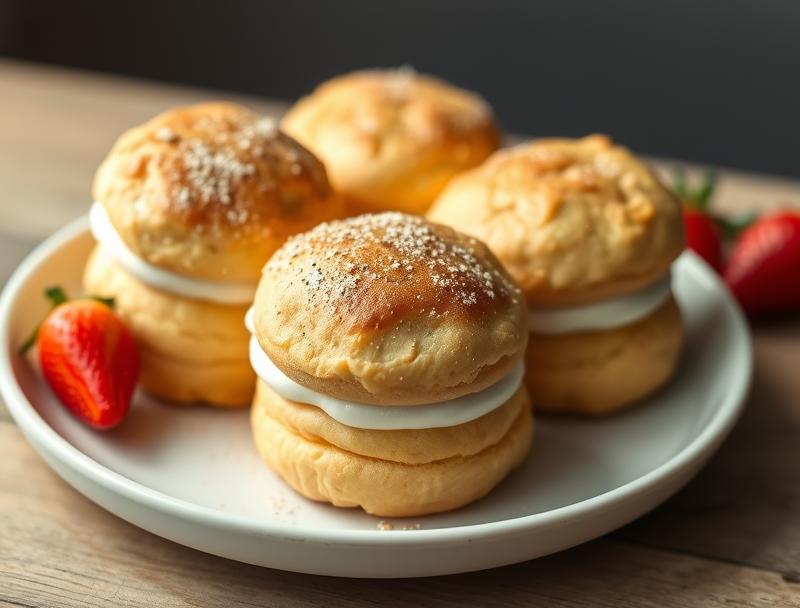
Indulge in the rich flavors and textures of our Heavenly Homemade Cream Puffs, a dessert so divine it will leave you and your guests in awe! These delectable pastries are surprisingly easy to make, requiring only basic ingredients and a bit of patience. With their flaky, buttery crusts and velvety cream fillings, they’re the perfect treat for any occasion. Whether you’re a seasoned baker or just starting out, this recipe is sure to become a favorite. So why not get creative and give your taste buds a little heaven on earth?
Why This Works
- The balance of flavors and textures in these cream puffs is unparalleled, with the light, airy pastry giving way to a rich, creamy filling.
- The ingredients are easily accessible and require minimal preparation, making this a great option for a quick dessert.
- Despite their impressive appearance, these cream puffs are remarkably easy to make, requiring only a few simple steps and some basic kitchen equipment.
Ingredients
- 1 1/2 cups all-purpose flour
- 1/2 cup confectioners’ sugar
- 1/4 teaspoon salt
- 1/2 cup unsalted butter, cubed
- 1/2 cup whole milk
- 1/4 cup granulated sugar
- 2 large eggs
- 1 teaspoon vanilla extract
- Whipped cream and powdered sugar for topping
Instructions
- Step 1: Preheat your oven to 400°F (200°C). Line a baking sheet with parchment paper.
- Step 2: In a medium saucepan, combine the milk, granulated sugar, and salt. Heat over medium heat, stirring occasionally, until the sugar has dissolved and the mixture is hot but not boiling.
- Step 3: Add the cubed butter to the saucepan and remove from the heat. Let it sit for 1-2 minutes, then stir until the butter has melted and the mixture is smooth.
- Step 4: Add the flour to the saucepan and stir until it forms a smooth, thick batter. Cook for 1-2 minutes, stirring constantly, until the batter pulls away from the sides of the pan.
- Step 5: Remove the saucepan from the heat and let it cool slightly. Beat in the eggs one at a time, until the batter is smooth and shiny.
- Step 6: Transfer the batter to a piping bag fitted with a large round tip. Pipe small, round shapes onto the prepared baking sheet.
- Step 7: Bake the cream puffs for 15-20 minutes, or until they are golden brown and puffed up. Allow them to cool completely on a wire rack.
- Step 8: To fill the cream puffs, beat the heavy cream and confectioners’ sugar until stiff peaks form. Split the cooled cream puffs in half and fill with the whipped cream.
Handy Tips
- Make sure to not overmix the batter, as this can cause the cream puffs to become dense and heavy.
- If you don’t have a piping bag, you can simply spoon the batter onto the baking sheet in small, round shapes.
- Don’t overbake the cream puffs, as this can cause them to become dry and crumbly.
Heat Control
To achieve the perfect cream puff, it’s essential to control the heat in your oven. Make sure to preheat your oven to 400°F (200°C) and bake the cream puffs for 15-20 minutes, or until they are golden brown and puffed up. Keep an eye on them after 10 minutes, as the baking time may vary depending on your oven.
Crunch Factor
The cream puffs should be light and airy, with a delicate crunch on the outside giving way to a soft, creamy interior. To achieve this, make sure to not overmix the batter and don’t overbake the cream puffs.
Pro Kitchen Tricks
- To ensure that your cream puffs are evenly baked, rotate the baking sheet halfway through the baking time.
- Use a high-quality vanilla extract to give your cream puffs an extra boost of flavor.
- Don’t be afraid to experiment with different flavors, such as adding a teaspoon of almond extract or a pinch of salt to the batter.
Storage Tips
- The cream puffs are best served fresh, but they can be stored in an airtight container at room temperature for up to 2 days.
- To freeze the cream puffs, place them in a single layer on a baking sheet and freeze until solid. Transfer the frozen cream puffs to an airtight container or freezer bag and store for up to 2 months.
- To thaw the frozen cream puffs, simply leave them at room temperature for a few hours or thaw them in the refrigerator overnight.
Gift Packaging Ideas
These cream puffs are perfect for gift-giving, especially when packaged in a beautiful and elegant way. Consider placing them in a decorative tin or box, or wrapping them individually in cellophane bags and tying with a ribbon. You could also include a few extra treats, such as chocolate truffles or caramel sauce, to make the gift even more special.
Flavor Variations
- Try adding a teaspoon of almond extract or a pinch of salt to the batter for a unique flavor twist.
- Use different types of milk, such as almond or soy milk, to create a non-dairy version of the cream puffs.
- Experiment with different flavors of extract, such as lemon or orange, to create a citrusy twist on the classic cream puff.
Troubleshooting
- If your cream puffs are not puffing up properly, it may be due to overmixing the batter or not baking them at the right temperature.
- If your cream puffs are too dense or heavy, it may be due to overmixing the batter or not using enough egg whites.
- If your cream puffs are too dry or crumbly, it may be due to overbaking them or not storing them properly.
FAQs
- Can I freeze the cream puffs? Yes, the cream puffs can be frozen for up to 2 months. Simply place them in a single layer on a baking sheet and freeze until solid, then transfer to an airtight container or freezer bag.
- Are the cream puffs gluten-free? No, the cream puffs contain gluten due to the all-purpose flour used in the recipe. However, you can try substituting the flour with a gluten-free flour blend to create a gluten-free version.
- Can I double the recipe? Yes, the recipe can be easily doubled or tripled to make a larger batch of cream puffs. Simply multiply the ingredients accordingly and adjust the baking time as needed.
Conclusion
With these simple steps and helpful tips, you’ll be well on your way to creating your own heavenly homemade cream puffs. Whether you’re a seasoned baker or just starting out, this recipe is sure to become a favorite. So why not get creative and give your taste buds a little heaven on earth? Share your cream puffs with friends and family, or enjoy them all to yourself – either way, you’re sure to be delighted by the light, airy texture and rich, creamy flavor of these divine pastries.
Heavenly Homemade Cream Puffs
A simple recipe for delicious cream puffs with a light, airy texture and rich, creamy flavor.
🥘 Ingredients
👩🍳 Instructions
-
1Preheat the oven to 400°F (200°C).
-
2Combine the milk, granulated sugar, and salt in a medium saucepan and heat over medium heat, stirring occasionally, until the sugar has dissolved and the mixture is hot but not boiling.
-
3Add the cubed butter to the saucepan and remove from the heat. Let it sit for 1-2 minutes, then stir until the butter has melted and the mixture is smooth.
-
4Add the flour to the saucepan and stir until it forms a smooth, thick batter. Cook for 1-2 minutes, stirring constantly, until the batter pulls away from the sides of the pan.
-
5Remove the saucepan from the heat and let it cool slightly. Beat in the eggs one at a time, until the batter is smooth and shiny.
-
6Transfer the batter to a piping bag fitted with a large round tip. Pipe small, round shapes onto a prepared baking sheet.
-
7Bake the cream puffs for 15-20 minutes, or until they are golden brown and puffed up. Allow them to cool completely on a wire rack.
-
8To fill the cream puffs, beat the heavy cream and confectioners' sugar until stiff peaks form. Split the cooled cream puffs in half and fill with the whipped cream.