Melting Ice Cream Cake Pops – Fun Summer Party Dessert!
Introduction
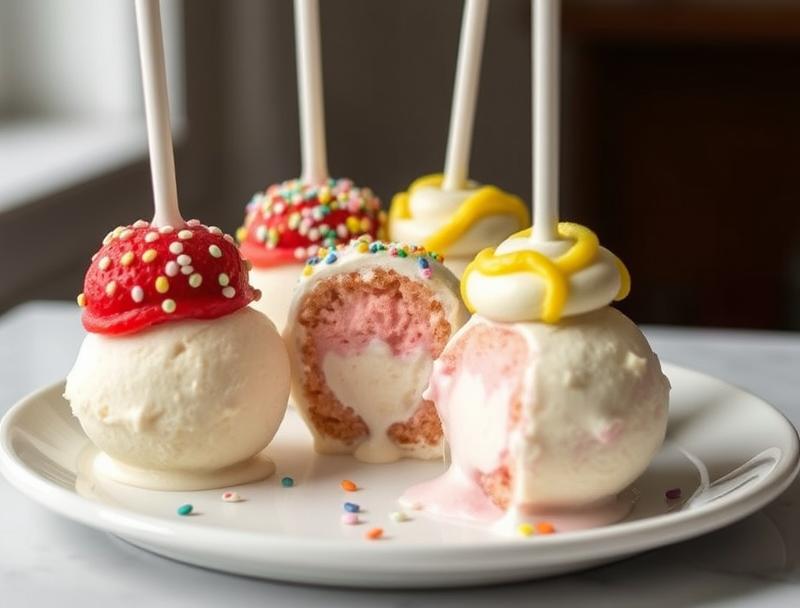
Imagine a dessert so fun and unique, it’s sure to be the star of your summer party. Melting Ice Cream Cake Pops are an innovative treat that combines the best of both worlds: the creamy delight of ice cream and the moist sweetness of cake, all in one adorable package. What’s more, they’re surprisingly easy to make, using everyday ingredients that you might already have in your pantry. With their creative mix of flavors and textures, these cake pops are perfect for hot summer days when you want a dessert that’s both refreshing and playful.
Why This Works
- Flavor balance and ingredient accessibility: The combination of ice cream and cake provides a perfect balance of flavors, while the use of common ingredients makes it accessible to anyone.
- Ease of preparation: Despite their impressive appearance, Melting Ice Cream Cake Pops are relatively simple to prepare, requiring minimal cooking and no special equipment beyond a cake pop maker or a creative use of ice cream scoops and sticks.
- Impressive results with minimal effort: The end result is a dessert that looks like it was purchased from a professional bakery, but can be made at home with just a few ingredients and some basic kitchen tools.
Ingredients
- 1 1/2 cups all-purpose flour
- 1 cup granulated sugar
- 2 teaspoons baking powder
- 1/2 teaspoon salt
- 1/2 cup unsalted butter, softened
- 1 cup whole milk
- 2 large eggs
- 2 teaspoons vanilla extract
- 1 pint of your favorite ice cream
- Candy melts or white chocolate for coating
- Sprinkles or other decorations (optional)
Instructions
- Step 1: Preheat your oven to 350°F (175°C). Prepare a cake pop pan or a mini muffin tin with liners. In a medium bowl, whisk together the flour, sugar, baking powder, and salt. In a large bowl, whisk together the butter, milk, eggs, and vanilla extract. Add the dry ingredients to the wet ingredients and mix until just combined.
- Step 2: Divide the batter evenly among the cake pop pan or mini muffin tin. Bake for 12-15 minutes, or until a toothpick inserted into the center of a cake comes out clean. Allow the cakes to cool completely.
- Step 3: Once the cakes are cool, use a cookie scoop or your hands to shape them into balls. Insert a stick into each ball, making sure it’s centered. Scoop a small ball of ice cream and press it into the center of each cake ball, making sure to seal the ice cream within the cake.
- Step 4: Melt the candy melts or white chocolate in a microwave-safe bowl in 30-second increments, stirring between each interval until smooth. Dip the end of each stick into the melted chocolate and then insert it into the cake and ice cream ball to coat. Immediately sprinkle with decorations if desired. Place the pops on a baking sheet lined with parchment paper and refrigerate until the chocolate is set.
Handy Tips
- For easier handling, make sure the cake is completely cool before shaping into balls. If the cake starts to crumble, you can use a small amount of frosting to help hold it together.
- Experiment with different flavors of ice cream and cake to create unique combinations. Consider using matching or contrasting flavors for interesting effects.
- To avoid melting, keep the ice cream cake pops refrigerated until serving. If you’re serving outdoors, consider keeping them in a cooler with ice packs to maintain a cool temperature.
Heat Control
When melting the candy melts or white chocolate, it’s crucial to heat them in short intervals and stir well between each heating to avoid burning the chocolate. Ideally, the chocolate should be melted at a low temperature. If using a double boiler, ensure the water doesn’t boil but simmers gently, as high heat can cause the chocolate to seize up.
Crunch Factor
The crunch factor in these dessert pops comes from the outer layer of chocolate. To achieve a nice crunch, make sure the chocolate is not overheated, as this can cause it to become too thin and lose its texture. Additionally, sprinkles or other decorations added immediately after coating can provide an extra crunchy element.
Pro Kitchen Tricks
- To ensure the cake and ice cream adhere well, slightly moisten the cake before inserting the ice cream. This can be done by brushing the cake lightly with water or a flavored extract.
- For a professional finish, dip the pops twice in melted chocolate, allowing the first layer to set before applying the second. This creates a smooth, even coating.
- Consider using different types of sticks or handles for the pops, such as decorative straws or edible images, to add an extra creative touch.
Storage Tips
- Store the Melting Ice Cream Cake Pops in an airtight container in the refrigerator to keep them fresh. If you won’t be serving them within a day or two, consider freezing them. To freeze, place the pops on a baking sheet lined with parchment paper and put it in the freezer until they’re frozen solid, then transfer them to a freezer-safe bag or container.
- When reheating or thawing frozen pops, do so slowly in the refrigerator overnight to prevent the ice cream from becoming too soft or the cake from drying out.
- The shelf life of these dessert pops is best when consumed within a week of making. However, frozen pops can last for up to two months when stored properly.
Gift Packaging Ideas
These cake pops are perfect for gifting, especially during summer months. Consider packaging them in clear cellophane bags tied with a ribbon, or placing them in small gift boxes lined with tissue paper. For a more rustic look, you could wrap each pop individually in parchment paper and tie with twine. Adding a gift tag with the flavor or a personal message can make the gift even more special.
Flavor Variations
- Different spices: Add a pinch of cinnamon, nutmeg, or cardamom to the cake batter for unique flavor profiles.
- Creative toppings: Use different types of candy melts, add nuts, shredded coconut, or even dried fruits to the chocolate coating for varied textures and flavors.
- Ingredient swaps: Substitute the all-purpose flour with almond flour for a gluten-free version, or use different types of milk and ice cream for dairy-free options.
Troubleshooting
- Texture problems: If the cake is too crumbly, try adding a little more milk to the batter. If the ice cream is too soft, freeze it for a few minutes before assembling the pops.
- Ingredient replacements: If you don’t have certain ingredients, look for substitutes that offer similar properties. For example, you can replace butter with coconut oil or applesauce in some recipes.
- Over/undercooking signs: Check the cakes frequently while they’re baking, as overcooking can make them dry. Undercooked cake might fall apart when handled; ensure it’s fully cooked but still moist.
FAQs
- Can I freeze it? Yes, you can freeze the cake pops for up to two months. It’s best to freeze them before coating with chocolate for the best results.
- Is it gluten-free? The original recipe includes gluten, but you can make a gluten-free version by substituting the all-purpose flour with a gluten-free flour blend.
- Can I double the recipe? Yes, you can easily double or triple the recipe to make more cake pops. Just ensure you have enough sticks, chocolate, and decorations for each pop.
Conclusion
Melting Ice Cream Cake Pops are a fun and creative dessert perfect for summer parties and gatherings. With their unique combination of ice cream and cake, they offer a refreshing twist on traditional desserts. Don’t be afraid to experiment with different flavors and decorations to make them your own. Whether you’re a seasoned baker or a beginner in the kitchen, these pops are sure to delight both kids and adults alike. So go ahead, get creative, and enjoy the melting magic of these ice cream cake pops!
Melting Ice Cream Cake Pops – Fun Summer Party Dessert!
A unique dessert combining ice cream and cake, perfect for summer parties.
🥘 Ingredients
👩🍳 Instructions
-
1Preheat oven to 350°F (175°C). Prepare cake pop pan or mini muffin tin.
-
2Bake cakes and allow them to cool completely.
-
3Shape cakes into balls and insert a stick into each, followed by a scoop of ice cream.
-
4Melt candy melts or white chocolate and coat each pop, decorating immediately if desired.