Japanese Tuna Rice Balls (Onigiri) – Easy Lunchbox Idea
Introduction
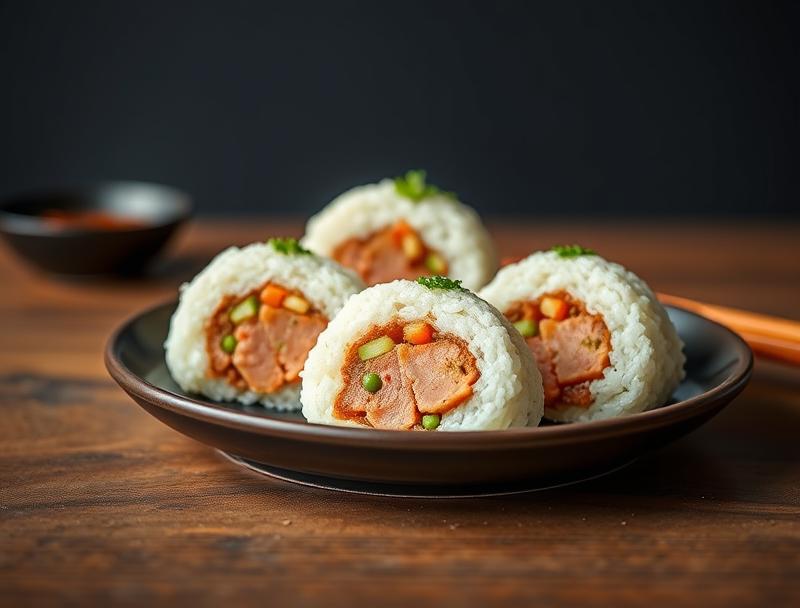
Imagine a lunchbox idea that is not only easy to prepare but also packed with flavor and creativity, using everyday ingredients that you might already have in your pantry. Japanese Tuna Rice Balls, or Onigiri, are a traditional snack that fits perfectly into this description. These triangular-shaped rice balls are filled with tuna and can be easily customized with various fillings to suit your taste preferences. They are ideal for school lunches, office snacks, or even as a quick pick-me-up when you’re on the go. In this article, we’ll guide you through the simple process of making Japanese Tuna Rice Balls, providing you with a versatile and delicious addition to your meal repertoire.
Why This Works
- Flavor balance and ingredient accessibility: The combination of tuna, rice, and seasonings creates a well-balanced flavor profile that is both savory and slightly sweet. The ingredients are easily accessible in most supermarkets, making this dish highly practical.
- Ease of preparation: The process of making Onigiri is straightforward and requires minimal cooking skills. It involves preparing the filling, shaping the rice, and assembling the rice balls.
- Impressive results with minimal effort: Despite the simplicity of the recipe, the end result is impressive and can be customized to suit various tastes and dietary needs. The triangular shape of Onigiri adds a touch of elegance, making them perfect for both everyday meals and special occasions.
Ingredients
- 1 can of tuna (drained and flaked)
- 2 cups of Japanese short-grain rice
- 1/2 cup of water
- 1 tablespoon of soy sauce
- 1 tablespoon of sesame oil
- 1 teaspoon of grated ginger
- Salt, to taste
- Nori sheets (for wrapping, optional)
Instructions
- Step 1: Prepare the Tuna Filling – Mix the flaked tuna with soy sauce, sesame oil, and grated ginger in a bowl. Season with salt to taste.
- Step 2: Cook the Rice – Rinse the rice thoroughly and cook it according to the package instructions using the specified amount of water. Japanese short-grain rice is preferred for its sticky texture, which is essential for holding the shape of the Onigiri.
- Step 3: Shape the Onigiri – Once the rice is cooked and has cooled down slightly, it’s time to shape it. Wet your hands with water and take a small amount of rice. Make a triangle or oval shape and create a small indentation in the center for the filling.
- Step 4: Assemble the Onigiri – Place a small amount of the tuna filling in the indentation and fold the rice over the filling to form a triangle or oval shape. Press the edges together to seal the Onigiri. Repeat with the remaining rice and filling.
Handy Tips
- Use short-grain Japanese rice for the best results, as it sticks together well when cooked.
- Handle the rice when it’s still slightly warm, as this makes it easier to shape.
- Don’t overfill the Onigiri, as this can cause them to break apart when handled.
- Experiment with different fillings such as salmon, pickled plum, or boiled eggs to vary the flavor and nutrition.
Heat Control
For this recipe, heat control is primarily about cooking the rice to the right consistency. The ideal temperature for cooking Japanese rice is usually around 180°F to 190°F (82°C to 88°C). It’s also crucial to not overcook the rice, as it becomes too sticky and clumpy. The rice should be cooked until it’s just done and still retains a bit of firmness in the center.
Crunch Factor
The crunch factor in Onigiri comes from the nori sheets used for wrapping. Nori adds a crispy texture and a savory seaweed flavor. If you choose to wrap your Onigiri in nori, cut the sheets into desired sizes, place an Onigiri in the center of each sheet, and fold the nori over the rice ball to create a wrap. The crunch of the nori complements the softness of the rice and the savory filling perfectly.
Pro Kitchen Tricks
- Use a rice cooker for perfectly cooked rice every time. If you don’t have a rice cooker, a heavy-bottomed pot with a tight-fitting lid works well too.
- Mix the tuna filling just before assembling the Onigiri to ensure the flavors stay vibrant and fresh.
- For an extra touch, garnish your Onigiri with grated daikon or shiso leaves for added flavor and visual appeal.
Storage Tips
- Onigiri can be stored in an airtight container in the refrigerator for up to a day. It’s best to consume them fresh, but if you need to store them, make sure they are completely cooled before refrigerating.
- For longer storage, Onigiri can be frozen. Place them in a single layer in a freezer-safe bag or container and store in the freezer. To serve, simply thaw at room temperature or reheat in the microwave.
- When reheating, wrap the Onigiri in a damp paper towel and microwave for about 20-30 seconds to maintain moisture and texture.
Gift Packaging Ideas
If you’re considering gifting Onigiri, presentation is key. You can wrap each Onigiri individually in plastic wrap or nori and place them in a decorative box or bag. Adding a small packet of soy sauce or wasabi for dipping can enhance the gift. For a more rustic look, place the Onigiri in a bento box or a wooden container lined with a cloth or paper. This not only protects the Onigiri during transport but also adds a touch of tradition and culture to the gift.
Flavor Variations
- Different spices: Try adding a pinch of cayenne pepper or red pepper flakes to the tuna filling for a spicy kick.
- Creative toppings: Top your Onigiri with toasted sesame seeds, grated carrot, or diced green onions for added texture and flavor.
- Ingredient swaps: Replace tuna with cooked and shredded chicken, salmon, or tofu for a vegetarian option. You can also use different types of rice, such as brown rice or mixed grain rice, for varying nutritional content.
Troubleshooting
- Texture problems: If your Onigiri falls apart, it might be due to over-handling the rice or using the wrong type of rice. Try using less water when cooking the rice or handling it more gently.
- Ingredient replacements: If you can’t find Japanese short-grain rice, you can substitute it with calrose rice or other medium-grain rice as a last resort. However, the texture might not be as ideal.
- Over/undercooking signs: Undercooked rice can be hard and crunchy, while overcooked rice is mushy. Adjust your cooking time and water ratio accordingly to achieve perfectly cooked rice.
FAQs
- Can I freeze it? Yes, Onigiri can be frozen for up to 3 months. Simply place them in a single layer in a freezer-safe bag or container and store in the freezer.
- Is it gluten-free? Yes, traditional Onigiri made with rice, tuna, and nori is gluten-free. However, always check the ingredients of the soy sauce and any other seasonings you use to ensure they are gluten-free.
- Can I double the recipe? Yes, you can easily double or triple the recipe to make more Onigiri. Just ensure you have enough rice and filling ingredients and adjust the cooking and assembly time accordingly.
Conclusion
Making Japanese Tuna Rice Balls (Onigiri) is a fun and rewarding process that allows you to create a delicious, portable meal using simple ingredients. With its perfect balance of flavors and textures, Onigiri is an excellent choice for lunchboxes, picnics, or as a snack on the go. Feel free to experiment with different fillings and seasonings to make the recipe your own, and don’t hesitate to share your creations with friends and family. Whether you’re a fan of Japanese cuisine or just looking for a new idea to spice up your meal routine, Onigiri is sure to delight. So, go ahead, get creative, and enjoy the journey of making these wonderful rice balls!
Japanese Tuna Rice Balls (Onigiri) – Easy Lunchbox Idea
A traditional Japanese snack made with tuna and rice, perfect for lunchboxes or on-the-go meals.
🥘 Ingredients
👩🍳 Instructions
-
1Prepare the tuna filling by mixing the flaked tuna with soy sauce, sesame oil, and grated ginger in a bowl.
-
2Cook the Japanese short-grain rice according to the package instructions using the specified amount of water.
-
3Shape the cooked rice into triangles or oval shapes, creating a small indentation in the center for the filling.
-
4Assemble the Onigiri by placing a small amount of the tuna filling in the indentation and folding the rice over the filling to form a triangle or oval shape.