No-Bake Cookie Dough Bars – Egg-Free, Safe to Eat and Super Easy!
Introduction
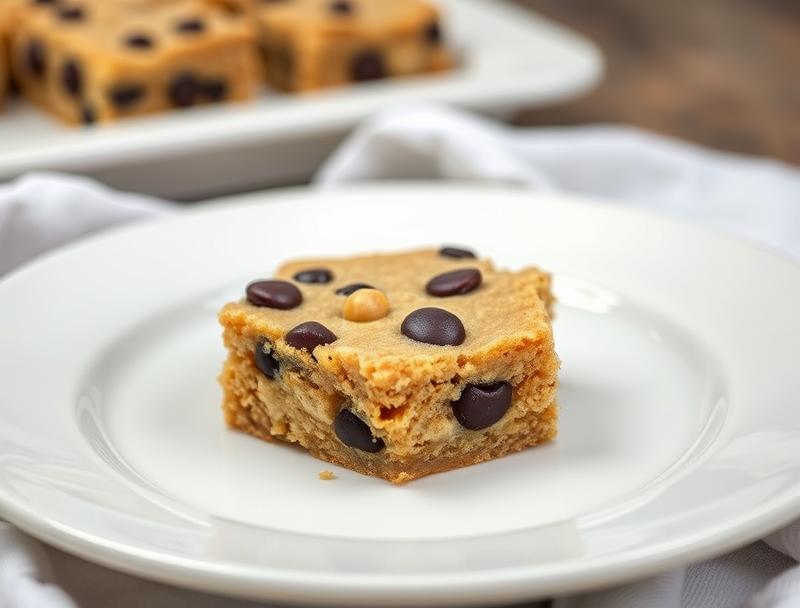
Indulge in the sweet, chewy goodness of no-bake cookie dough bars, carefully crafted to be egg-free and safe to eat. These delicious treats are perfect for anyone with a sweet tooth, and the best part? They’re incredibly easy to make! Using everyday ingredients, you can create a batch of these mouthwatering bars in no time. The combination of creamy cookie dough, crunchy chocolate chips, and a hint of vanilla will have you and your loved ones hooked from the very first bite. Get ready to unleash your creativity and satisfy your cravings with this simple, yet impressive recipe.
Why This Works
- The perfect balance of flavors and textures, achieved with accessible ingredients that are likely already in your pantry.
- The ease of preparation is unparalleled, requiring no baking and minimal effort, making it a great option for busy days or last-minute treats.
- Despite the simplicity, the results are impressive, yielding bars that are not only delicious but also visually appealing, perfect for sharing or gifting.
Ingredients
- 2 cups all-purpose flour
- 1 teaspoon baking soda
- 1 teaspoon salt
- 1 cup unsalted butter, softened
- 3/4 cup granulated sugar
- 1 cup brown sugar
- 2 teaspoons vanilla extract
- 2 cups semi-sweet chocolate chips
- 1 cup chopped walnuts (optional)
- 1 cup powdered sugar (for dusting)
Instructions
- Step 1: In a medium-sized bowl, whisk together the flour, baking soda, and salt. Set aside.
- Step 2: In a large bowl, use an electric mixer to cream together the butter and sugars until light and fluffy, about 2-3 minutes.
- Step 3: Beat in the vanilla extract, then gradually mix in the flour mixture until just combined, being careful not to overmix.
- Step 4: Stir in the chocolate chips and walnuts (if using). Press the dough into a lined or greased 8-inch square baking dish.
- Step 5: Refrigerate the dough for at least 30 minutes to set. Cut into bars and dust with powdered sugar before serving.
Handy Tips
- For a chewier texture, don’t overmix the dough, and make sure to not over-refrigerate, as this can make the bars too hard.
- Consider using different types of chocolate chips or nuts to change up the flavor and texture.
- If you find the dough too sticky, you can refrigerate it for 10-15 minutes to firm up before pressing it into the baking dish.
Heat Control
Since these bars are no-bake, there’s no need to worry about heat control. However, keeping them refrigerated will help them set properly and retain their texture.
Crunch Factor
The addition of walnuts provides a nice crunch, but feel free to omit them or substitute with another nut for a different texture. The chocolate chips also add a bit of crunch and a burst of flavor.
Pro Kitchen Tricks
- Use a high-quality vanilla extract for the best flavor.
- Don’t overpress the dough into the baking dish, as this can make the bars dense.
- Experiment with different mix-ins, like dried cranberries or coconut flakes, to create unique flavor combinations.
Storage Tips
- Store the bars in an airtight container in the refrigerator for up to 5 days.
- Freeze the bars for up to 2 months, thawing at room temperature when ready to serve.
- Keep the bars away from direct sunlight and heat sources to prevent melting or becoming too soft.
Gift Packaging Ideas
These no-bake cookie dough bars make perfect gifts, especially when packaged in decorative tins, jars, or cellophane bags. Consider adding a ribbon or gift tag with a personal message for a thoughtful touch.
Flavor Variations
- Try using different types of extract, like almond or mint, for a unique twist.
- Add a sprinkle of sea salt on top of the bars before refrigerating for a salty-sweet combination.
- Experiment with various types of chocolate chips or chunks for different flavor profiles.
Troubleshooting
- If the dough is too sticky, refrigerate it for a few minutes to firm up. If it’s too dry, add a bit more butter or sugar.
- If the bars become too hard, try letting them sit at room temperature for 10-15 minutes to soften.
- If you notice the bars becoming too soft or melting, refrigerate them immediately to firm up.
FAQs
- Can I freeze the dough before pressing it into the baking dish? Yes, you can freeze the dough for up to 2 months, then thaw and press into the baking dish when ready.
- Are these bars gluten-free? No, these bars contain all-purpose flour, which contains gluten. However, you can experiment with gluten-free flours for a modified version.
- Can I double the recipe? Yes, you can easily double the recipe to make a larger batch. Just be sure to use a larger baking dish and adjust the refrigeration time accordingly.
Conclusion
With these no-bake cookie dough bars, you’ll be enjoying a delicious, egg-free, and safe-to-eat treat in no time. Don’t be afraid to experiment with different flavors and mix-ins to make the recipe your own. Share these bars with friends and family, or keep them all to yourself – we won’t judge! Remember to store them properly and enjoy within a few days for the best texture and flavor. Happy baking (or not baking, in this case!)!
No-Bake Cookie Dough Bars – Egg-Free, Safe to Eat and Super Easy!
A simple recipe for no-bake cookie dough bars that are egg-free and safe to eat, made with everyday ingredients and requiring minimal effort.
🥘 Ingredients
👩🍳 Instructions
-
1In a medium-sized bowl, whisk together the flour, baking soda, and salt. Set aside.
-
2In a large bowl, use an electric mixer to cream together the butter and sugars until light and fluffy, about 2-3 minutes.
-
3Beat in the vanilla extract, then gradually mix in the flour mixture until just combined, being careful not to overmix.
-
4Stir in the chocolate chips and walnuts (if using). Press the dough into a lined or greased 8-inch square baking dish.
-
5Refrigerate the dough for at least 30 minutes to set. Cut into bars and dust with powdered sugar before serving.