Fluffy Japanese Cheesecake Recipe
Introduction
Imagine a cheesecake that is not dense and heavy, but instead, light, fluffy, and utterly divine. The Fluffy Japanese Cheesecake, also known as a “jiggly cheesecake,” has taken the world by storm with its unique texture and heavenly taste. This recipe is a masterclass in balance and simplicity, utilizing everyday ingredients to create a dessert that is both impressive and accessible. With this Fluffy Japanese Cheesecake Recipe, you’ll discover how to blend cream cheese, eggs, and flour into a masterpiece that will leave your family and friends in awe. The best part? It’s surprisingly easy to make, requiring minimal effort for such an elegant outcome.
Why This Works
- The balance of flavors between the cream cheese, butter, eggs, and sugar creates a rich yet light taste experience that is hard to resist.
- The accessibility of the ingredients means you can easily find everything you need at your local grocery store, making this a practical choice for any occasion.
- The ease of preparation is another significant advantage, as the cheesecake requires minimal cooking skills and can be ready in under an hour, perfect for last-minute dessert needs.
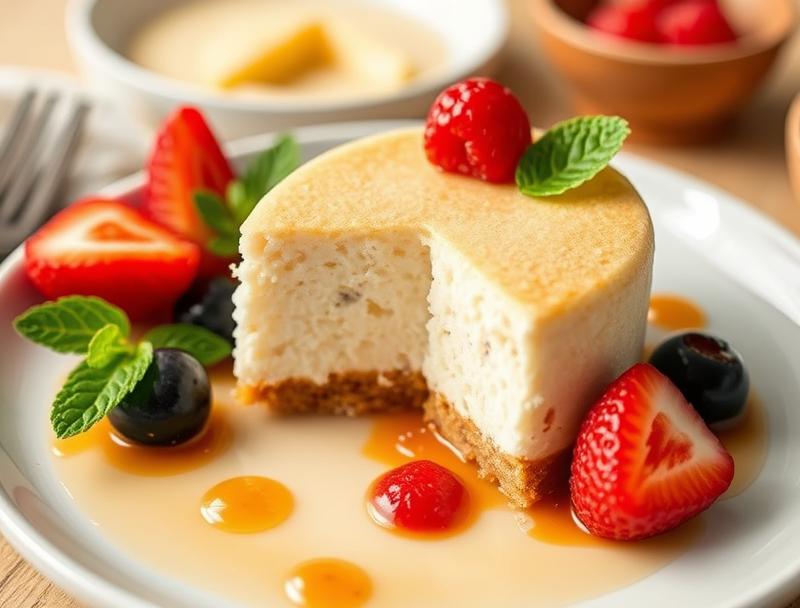
- Despite the simplicity, the results are impressive. The fluffy texture and the golden-brown top make for a visually appealing dessert that’s sure to impress at any gathering.
Ingredients
- 250g cream cheese, softened
- 100g granulated sugar
- 4 large eggs, separated
- 100g all-purpose flour
- 1/2 teaspoon salt
- 1/2 cup unsalted butter, melted
- 1/2 cup milk
- 1 teaspoon vanilla extract
- Confectioners’ sugar, for dusting
Instructions
- Step 1: Preheat and Prep – Preheat your oven to 320°F (160°C). Prepare a 9-inch (23cm) round cake pan by lining the bottom with parchment paper and lightly greasing the sides.
- Step 2: Mix the Batter – In a medium bowl, whisk together the flour and salt. Set aside. In a large mixing bowl, beat the cream cheese until smooth. Add the granulated sugar and beat until combined. Beat in the egg yolks one at a time, followed by the melted butter and milk. Finally, whisk in the flour mixture and vanilla extract until just combined.
- Step 3: Incorporate Egg Whites – In a separate large bowl, beat the egg whites until stiff peaks form. Gradually add the egg whites to the cream cheese mixture, gently folding until no white streaks remain. Be careful not to overmix.
- Step 4: Bake the Cheesecake – Pour the cheesecake batter into the prepared pan and smooth the top. Bake for 45-50 minutes, or until the edges are set, and the center is just slightly jiggly. Avoid overbaking, as this can cause the cheesecake to dry out.
- Step 5: Cool and Serve – Remove the cheesecake from the oven and let it cool completely in the pan. Once cooled, refrigerate for at least 4 hours. Dust with confectioners’ sugar before serving.
Handy Tips
- Ensure all your ingredients are at room temperature before starting, as this will help in achieving a smooth and even batter.
- Avoid overmixing the batter, especially when incorporating the egg whites, to prevent deflating the cheesecake.
- Don’t open the oven door during the baking time, as the sudden change in temperature can cause the cheesecake to sink or crack.
Heat Control
Maintaining the right oven temperature is crucial. The oven should be preheated to 320°F (160°C), and it’s essential to bake the cheesecake at this temperature to achieve the right texture. Baking time may vary depending on your oven, so keep an eye on the cheesecake after 40 minutes. It should be lightly golden on top and still slightly jiggly in the center when it’s done.
Crunch Factor
This cheesecake is all about the fluffy interior and the lightly browned, tender crust on the outside. To achieve this, it’s crucial not to overbake. The edges should be set, but the center should retain a slight jiggle when the pan is gently shaken. This ensures the cheesecake stays moist and fluffy.
Pro Kitchen Tricks
- For an extra smooth cheesecake, make sure to sift your flour before whisking it into the batter to avoid any lumps.
- Using room temperature ingredients can significantly affect the texture of your cheesecake, ensuring it’s light and airy.
- A water bath can help in baking, but for this recipe, it’s not necessary. However, if you choose to use one, it can help prevent cracking.
Storage Tips
- The cheesecake can be stored in the refrigerator for up to 5 days. Wrap it!tightly in plastic wrap or aluminum foil to prevent drying out.
- For longer storage, the cheesecake can be frozen for up to 2 months. Wrap it tightly in plastic wrap or aluminum foil and place it in a freezer-safe bag. Thaw overnight in the refrigerator when ready to serve.
- Reheating is not recommended, as it can alter the texture. Serve chilled for the best experience.
Gift Packaging Ideas
If you’re considering gifting this delightful cheesecake, presentation is key. Place the cooled cheesecake on a decorative plate or cake stand, dust it generously with confectioners’ sugar, and wrap the plate or stand with clear plastic wrap or a large cellophane bag. You can add a ribbon around the plate or a gift tag with a personal message for a more personalized touch.
Flavor Variations
- Try adding a teaspoon of lemon or orange zest to the batter for a citrus twist.
- For a chocolate version, melt 1/4 cup of dark chocolate and fold it into the batter before adding the egg whites.
- Swap the vanilla extract for almond extract for a nutty flavor variation.
Troubleshooting
- If your cheesecake cracks, it might be due to overmixing the batter or sudden temperature changes. To minimize cracking, ensure the cheesecake cools slowly and evenly.
- If the cheesecake is too dense, it could be because the egg whites were not beaten sufficiently or were overmixed into the batter. Ensure to beat the egg whites until stiff peaks form and fold them gently into the batter.
- For a cheesecake that’s too dry, it might have been overbaked. Keep a close eye on the baking time and remove the cheesecake from the oven when it’s just slightly jiggly in the center.
FAQs
- Can I freeze it? Yes, you can freeze the cheesecake for up to 2 months. Thaw it overnight in the refrigerator before serving.
- Is it gluten-free? The recipe includes all-purpose flour, so it is not gluten-free. However, you can experiment with gluten-free flour mixes for a gluten-free version.
- Can I double the recipe? Yes, you can double the recipe, but you’ll need to adjust the baking time accordingly. Keep an eye on the cheesecake, as it may take longer to bake through.
Conclusion
Making a Fluffy Japanese Cheesecake is an adventure in texture and taste, offering a unique dessert experience that’s both light and rich. With its simplicity and the use of everyday ingredients, this recipe is perfect for beginners and experienced bakers alike. Don’t be afraid to experiment with different flavors and toppings to make the cheesecake your own. Whether you’re a cheesecake aficionado or just looking to try something new, this Fluffy Japanese Cheesecake Recipe is sure to delight. So go ahead, give it a try, and share your creations with friends and family to spread the joy of this incredible dessert.
Fluffy Japanese Cheesecake Recipe
A light and fluffy cheesecake with a unique texture, made with cream cheese, eggs, and flour, perfect for any dessert occasion.
🥘 Ingredients
👩🍳 Instructions
-
1Preheat the oven to 320°F (160°C).
-
2Prepare the cake pan by lining the bottom with parchment paper and lightly greasing the sides.
-
3Mix the batter by beating the cream cheese, then adding the sugar, egg yolks, melted butter, milk, and flour mixture.
-
4Incorporate the egg whites by beating them until stiff peaks form and gently folding them into the batter.
-
5Bake the cheesecake for 45-50 minutes, or until the edges are set and the center is slightly jiggly.
-
6Cool the cheesecake completely in the pan, then refrigerate for at least 4 hours before serving.