Healthy Protein Cheesecake Recipe – Low Carb & Guilt-Free!
Introduction
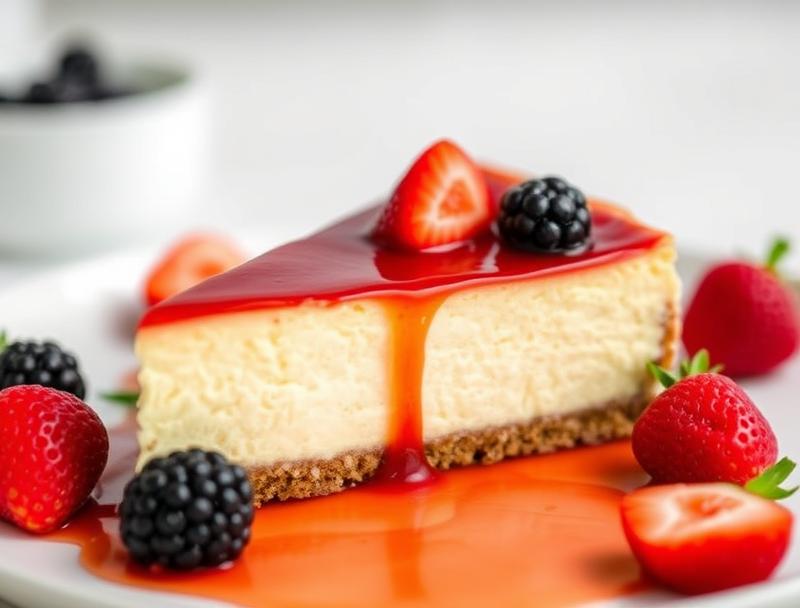
Imagine indulging in a rich, creamy cheesecake that not only satisfies your cravings but also nourishes your body. The Healthy Protein Cheesecake Recipe is a game-changer for those seeking a low-carb, guilt-free dessert option. By combining the natural sweetness of fruits, the creaminess of Greek yogurt, and the boost of protein powder, this recipe creates a masterpiece that is as delicious as it is healthy. What’s more, it’s incredibly easy to make and requires minimal special ingredients, making it perfect for a weeknight dessert or a show-stopping centerpiece for your next dinner party. So, let’s dive into the world of healthy desserts and explore the magic of this protein cheesecake recipe.
Why This Works
- Flavor balance and ingredient accessibility: The combination of protein powder, Greek yogurt, and natural sweeteners like stevia or honey creates a balanced flavor profile that is both healthy and indulgent. The ingredients are easily accessible in most grocery stores, making this recipe a practical choice for anyone.
- Ease of preparation: The steps involved in preparing this cheesecake are straightforward and simple. From mixing the crust ingredients to blending the filling, each step is designed to be quick and effortless, perfect for beginners or experienced bakers alike.
- Impressive results with minimal effort: Despite its simplicity, the end result is a cheesecake that looks and tastes like it was made by a professional. The protein cheesecake is smooth, creamy, and boasts a beautiful presentation, making it perfect for special occasions or as a healthy treat any day of the week.
Ingredients
- 1 1/2 cups almond flour
- 1/2 cup granulated sweetheart (or natural sweetener of choice)
- 1/4 cup melted coconut oil
- 2 pounds cream cheese, softened
- 3 large eggs
- 1/2 cup plain Greek yogurt
- 1 scoop vanilla protein powder
- 1 teaspoon vanilla extract
- 1/4 teaspoon salt
- 1 cup mixed berries (for topping)
Instructions
- Step 1: Prepare the Crust – In a medium bowl, mix together the almond flour and granulated sweetener. Add the melted coconut oil and stir until the mixture forms a crumbly dough. Press this dough into the bottom of a 9-inch springform pan. Bake in a preheated oven at 350°F for 15-20 minutes, or until lightly golden. Let cool completely.
- Step 2: Mix the Filling – In a large mixing bowl, beat the cream cheese until smooth. Add the eggs one at a time, beating well after each addition. Mix in the Greek yogurt, vanilla protein powder, vanilla extract, and salt until well combined.
- Step 3: Assemble and Bake the Cheesecake – Pour the cheesecake batter into the prepared pan over the cooled crust. Smooth the top and bake in a preheated oven at 325°F for 50-60 minutes, or until the edges are set and the center is just slightly jiggly. Avoid overbaking, as this can cause the cheesecake to dry out.
- Step 4: Cool and Chill – Let the cheesecake cool in the pan for 1 hour before running a knife around the edges and releasing the springform. Let it cool completely on a wire rack. Once cooled, refrigerate for at least 4 hours or overnight. Top with mixed berries before serving.
Handy Tips
- For a water bath, wrap the outside of the springform pan with foil and place it in a larger pan filled with water to about halfway up the sides of the springform. This helps in cooking the cheesecake more evenly and prevents cracking.
- Don’t overmix the batter, as this can lead to a dense cheesecake. Mix the ingredients just until they come together in a smooth batter.
- Let the cheesecake cool completely in the pan before attempting to remove it. This helps prevent cracking and makes the removal process much easier.
Heat Control
Maintaining the right temperature is crucial when baking a cheesecake. The ideal temperature for baking this protein cheesecake is 325°F. It’s also important to avoid overbaking, as this can cause the cheesecake to dry out. A perfectly baked cheesecake will have edges that are set and a center that is just slightly jiggly. If you’re unsure, it’s better to err on the side of underbaking than overbaking, as the cheesecake will continue to set as it cools.
Crunch Factor
The crunch factor in this recipe comes from the almond flour crust, which provides a nice textural contrast to the smooth, creamy cheesecake filling. To achieve the perfect crunch, make sure the crust is baked until it’s lightly golden. This not only adds flavor but also ensures the crust holds its shape and provides a satisfying crunch when you take a bite.
Pro Kitchen Tricks
- Use room temperature ingredients for a smoother batter and better texture in the final cheesecake.
- Avoid opening the oven door during the baking time, as this can cause the cheesecake to sink or crack.
- For a clean slice, dip your knife in hot water and wipe it dry before cutting the cheesecake. This helps prevent the cheesecake from tearing and gives you beautiful, clean slices.
Storage Tips
- Store the cheesecake in the refrigerator for up to 5 days. It’s best to keep it in an airtight container to maintain freshness and prevent it from drying out.
- For longer storage, the cheesecake can be frozen. Wrap it tightly in plastic wrap or aluminum foil and place it in a freezer-safe bag. Frozen cheesecake can be stored for up to 2 months. Thaw frozen cheesecake in the refrigerator overnight before serving.
- When reheating, avoid using the microwave, as this can cause the cheesecake to become unevenly heated and potentially dry. Instead, let it come to room temperature or warm it up gently in a low-temperature oven (around 200°F) for a few minutes.
Gift Packaging Ideas
This protein cheesecake makes a wonderful gift for friends, family, or coworkers, especially those with dietary restrictions or preferences. Consider packaging a slice or two in a decorative tin or jar, topped with fresh berries and a sprinkle of powdered sugar. You could also include a packet of your favorite coffee or tea for a complete gift set. For a more rustic look, wrap slices in parchment paper and twine, perfect for a farmhouse-themed gift. Whatever packaging you choose, the thought and effort you put into sharing a healthy, delicious dessert will surely be appreciated.
Flavor Variations
- Different spices: Add a pinch of cinnamon, nutmeg, or cardamom to the batter for a unique twist on the traditional cheesecake flavor.
- Creative toppings: Instead of mixed berries, try topping your cheesecake with caramelized bananas, a drizzle of chocolate sauce, or a sprinkle of chopped nuts for added texture and flavor.
- Ingredient swaps: Replace the vanilla protein powder with a different flavor like chocolate or strawberry to change up the cheesecake’s flavor profile. You can also swap the Greek yogurt with cottage cheese for an extra boost of protein.
Troubleshooting
- Texture problems: If your cheesecake turns out too dense, it might be due to overmixing the batter. For a cheesecake that’s too soft, it could be underbaked. Adjust your mixing technique and baking time accordingly for future attempts.
- Ingredient replacements: If you’re missing an ingredient, consider what its purpose is in the recipe and find a suitable substitute. For example, if you don’t have Greek yogurt, you could use sour cream or even a non-dairy yogurt alternative.
- Over/undercooking signs: An overbaked cheesecake will be dry and possibly cracked, while an underbaked one will be too jiggly in the center. Practice makes perfect, so don’t be discouraged if your first attempt doesn’t turn out as expected. Adjust your baking time and temperature as needed for the next try.
FAQs
- Can I freeze it? Yes, you can freeze the cheesecake for up to 2 months. Wrap it tightly and store it in a freezer-safe bag. Thaw in the refrigerator overnight before serving.
- Is it gluten-free? The recipe as stated is gluten-free, thanks to the use of almond flour in the crust. However, always check the ingredients of your protein powder and other components to ensure they are gluten-free, especially if you’re cooking for someone with gluten intolerance.
- Can I double the recipe? Yes, you can double the recipe to make a larger cheesecake. Just keep in mind that you’ll need to adjust the baking time accordingly. A larger cheesecake will take longer to bake, so check it frequently towards the end of the baking time to avoid overcooking.
Conclusion
The Healthy Protein Cheesecake Recipe is a testament to the fact that healthy eating doesn’t have to mean sacrificing flavor or enjoyment. With its creamy texture, balanced flavor, and impressive nutritional profile, this cheesecake is perfect for anyone looking to indulge in a guilt-free dessert. Whether you’re a fitness enthusiast, a health-conscious individual, or simply someone who loves good food, this recipe is sure to become a favorite. So go ahead, get creative with the toppings and flavor variations, and enjoy the process of making something truly special. Happy baking, and don’t forget to share your creations and tips with friends and family!
Healthy Protein Cheesecake Recipe – Low Carb & Guilt-Free!
A low-carb, guilt-free cheesecake recipe that combines the natural sweetness of fruits, the creaminess of Greek yogurt, and the boost of protein powder.
🥘 Ingredients
👩🍳 Instructions
-
1Prepare the crust by mixing almond flour and granulated sweetener, then adding melted coconut oil. Press into a 9-inch springform pan and bake at 350°F for 15-20 minutes.
-
2Mix the filling by beating cream cheese, adding eggs one at a time, then mixing in Greek yogurt, vanilla protein powder, vanilla extract, and salt.
-
3Assemble and bake the cheesecake by pouring the batter into the prepared pan and baking at 325°F for 50-60 minutes.
-
4Cool and chill the cheesecake before serving. Top with mixed berries for a delicious and healthy dessert.