Mini Oatmeal Cream Pies – Easy Back to School Lunchbox Treat!
Introduction
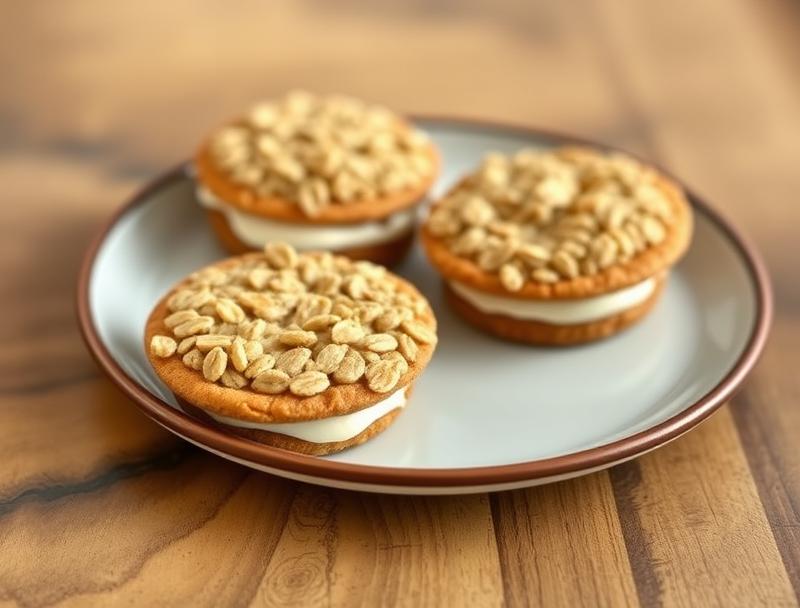
As the new school year begins, parents are always on the lookout for easy, delicious, and creative lunchbox treats that their kids will love. Mini Oatmeal Cream Pies are the perfect solution, offering a sweet, comforting flavor that combines the warmth of oatmeal with the richness of cream, all wrapped up in a bite-sized package. Using everyday ingredients and requiring minimal effort, these adorable pies are not only a hit with kids but also a stress-free option for busy parents looking to add some excitement to their child’s lunchbox.
Why This Works
- Flavor balance and ingredient accessibility: The combination of oatmeal, sugar, and cream provides a well-balanced flavor profile that is both familiar and comforting, using ingredients that are easily found in most kitchens.
- Ease of preparation: The process of making these mini pies is straightforward and quick, requiring no special baking skills, making them perfect for a weeknight bake or a weekend activity with the kids.
- Impressive results with minimal effort: Despite the simplicity of the recipe, the end result is impressive and delightful, with the mini pies looking almost like store-bought treats but with the added benefit of being homemade.
Ingredients
- 1 1/2 cups rolled oats
- 1/2 cup all-purpose flour
- 1/2 cup packed brown sugar
- 1/4 cup granulated sugar
- 1/2 teaspoon baking soda
- 1/4 teaspoon salt
- 1/2 cup unsalted butter, softened
- 2 large eggs
- 2 teaspoons vanilla extract
- 1 cup heavy cream
- Confectioners’ sugar, for dusting (optional)
Instructions
- Step 1: Preheat and Prep – Preheat your oven to 375°F (190°C). Line a baking sheet with parchment paper or a silicone mat. In a medium bowl, whisk together the oats, flour, brown sugar, granulated sugar, baking soda, and salt.
- Step 2: Mix the Dough – Add the softened butter to the dry ingredients and mix until the mixture resembles coarse crumbs. Beat in the eggs and vanilla extract until a dough forms.
- Step 3: Roll Out the Dough – On a lightly floured surface, roll out the dough to about 1/4 inch thickness. Use a cookie cutter or the rim of a glass to cut out circles of dough. You should be able to get about 12-15 circles.
- Step 4: Assemble the Pies – Spoon a small amount of heavy cream onto one half of each dough circle. Fold the dough in half to enclose the cream, pressing the edges together to seal the pie. Use a fork to crimp the edges.
- Step 5: Bake the Pies – Place the pies on the prepared baking sheet, leaving about 1 inch of space between each pie. Bake for 20-25 minutes, or until the pies are lightly golden.
- Step 6: Cool and Serve – Allow the pies to cool on the baking sheet for 5 minutes, then transfer them to a wire rack to cool completely. Dust with confectioners’ sugar, if desired, and serve.
Handy Tips
- Make sure to chill the dough for about 30 minutes if you find it too soft to handle. This will make it easier to roll out and cut into shapes.
- Don’t overfill the pies with cream, as this can make them difficult to seal and may cause them to burst open during baking.
- Consider using different flavors of extract, like almond or lemon, to give the pies a unique twist.
Heat Control
When baking the mini pies, it’s crucial to keep an eye on them to ensure they don’t overcook. The ideal temperature is 375°F (190°C), and the pies should be baked for 20-25 minutes, or until they are lightly golden. Overcooking can make the pies dry and less appealing, so it’s better to err on the side of undercooking slightly, as they will continue to cook a bit after being removed from the oven.
Crunch Factor
The crunch factor in these mini pies comes from the baked oatmeal exterior, which should be lightly golden and firm to the touch. To achieve this, make sure not to overwork the dough, and bake the pies until they are just set. If you prefer a crunchier exterior, you can bake the pies for an additional 2-3 minutes, but keep a close eye on them to prevent burning.
Pro Kitchen Tricks
- Use high-quality ingredients: The flavor and texture of your mini pies will greatly depend on the quality of your ingredients, so choose the best you can find.
- Don’t skip the resting time: Allowing the dough to rest will help the gluten relax, making the dough easier to roll out and the final product more tender.
- Experiment with flavors: Once you’ve mastered the basic recipe, feel free to experiment with different flavors and fillings to create unique variations.
Storage Tips
- Store the mini pies in an airtight container at room temperature for up to 3 days.
- For longer storage, consider freezing the baked pies. Simply place them in a single layer in a freezer-safe bag or container and freeze for up to 2 months. Thaw at room temperature or reheat in the microwave.
- When reheating, be careful not to overheat, as this can cause the pies to become dry. A few seconds in the microwave should be enough to warm them through.
Gift Packaging Ideas
These mini pies are perfect for gifting, especially during the holiday season or for special occasions like birthdays. Consider packaging them in decorative tins or jars, wrapped in colorful paper or cloth, and tied with a ribbon. You could also include a personalized note or card to make the gift even more special.
Flavor Variations
- Different spices: Try adding a pinch of cinnamon, nutmeg, or cardamom to the dough for a unique flavor twist.
- Creative toppings: Instead of dusting with confectioners’ sugar, try topping the pies with a dollop of whipped cream, a sprinkle of cinnamon, or a few fresh berries.
- Ingredient swaps: For a gluten-free version, consider substituting the all-purpose flour with a gluten-free flour blend. You could also use different types of milk or cream for a non-dairy version.
Troubleshooting
- Texture problems: If the pies turn out too dense, it may be due to overworking the dough. Try to mix the ingredients just until they come together, and don’t overroll the dough.
- Ingredient replacements: If you’re missing an ingredient, don’t be afraid to get creative with substitutions. Just be aware that this may affect the final texture and flavor of the pies.
- Over/undercooking signs: Keep an eye on the pies while they’re baking, and check for doneness by looking for a lightly golden color and a firm texture. If they’re undercooked, they may be soft and pale; if they’re overcooked, they may be dark and dry.
FAQs
- Can I freeze the dough? Yes, you can freeze the dough for up to 2 months. Simply wrap it tightly in plastic wrap or aluminum foil and place it in a freezer-safe bag. Thaw overnight in the refrigerator before using.
- Is this recipe gluten-free? No, this recipe contains all-purpose flour, which contains gluten. However, you can try substituting the flour with a gluten-free flour blend for a gluten-free version.
- Can I double the recipe? Yes, you can easily double or triple the recipe if you need to make more pies. Just be aware that you may need to adjust the baking time slightly.
Conclusion
Mini Oatmeal Cream Pies are a delightful and easy-to-make treat that’s perfect for back to school lunchboxes, after-school snacks, or even as a special dessert. With their comforting oatmeal flavor and creamy filling, these pies are sure to be a hit with both kids and adults. Don’t be afraid to get creative with the recipe, and enjoy the process of making something delicious and homemade. Happy baking!
Mini Oatmeal Cream Pies – Easy Back to School Lunchbox Treat!
A sweet and comforting treat that combines the warmth of oatmeal with the richness of cream, perfect for lunchboxes or after-school snacks.
🥘 Ingredients
👩🍳 Instructions
-
1Preheat oven to 375°F (190°C).
-
2Mix the dry ingredients together in a medium bowl.
-
3Add the softened butter and mix until the mixture resembles coarse crumbs.
-
4Beat in the eggs and vanilla extract until a dough forms.
-
5Roll out the dough to about 1/4 inch thickness.
-
6Cut out circles of dough using a cookie cutter or the rim of a glass.
-
7Spoon a small amount of heavy cream onto one half of each dough circle.
-
8Fold the dough in half to enclose the cream, pressing the edges together to seal the pie.
-
9Place the pies on a prepared baking sheet and bake for 20-25 minutes, or until lightly golden.
-
10Allow the pies to cool on the baking sheet for 5 minutes, then transfer them to a wire rack to cool completely.