Moist Vanilla Buttermilk Pound Cake with Cream Cheese Glaze
Introduction
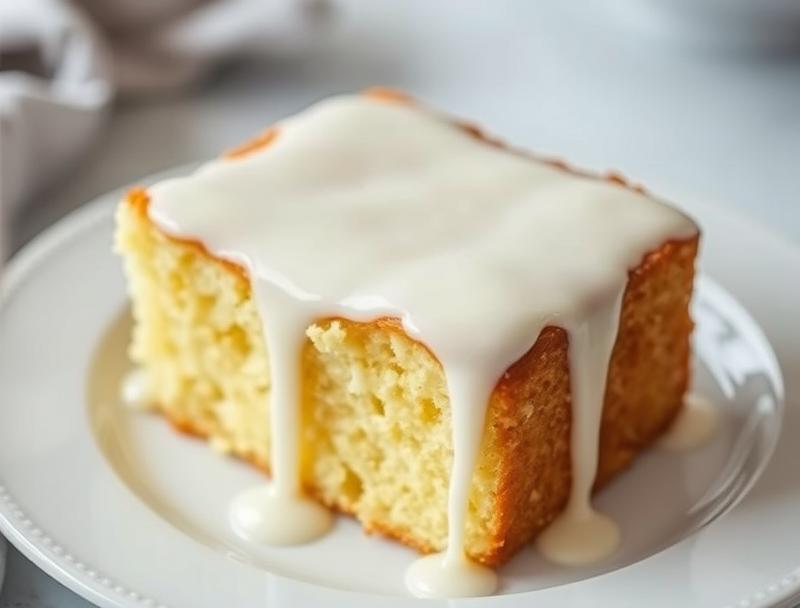
Imagine a moist and flavorful pound cake that combines the richness of buttermilk with the sweetness of vanilla, all topped with a tangy cream cheese glaze. This recipe for Moist Vanilla Buttermilk Pound Cake with Cream Cheese Glaze is not only easy to make but also offers a delightful twist on traditional pound cake. Using everyday ingredients, you can create a masterpiece that’s perfect for special occasions or a simple family dessert. The best part? It’s incredibly straightforward, making it accessible to bakers of all skill levels. Whether you’re a seasoned pro or just starting out, this recipe is sure to impress with its balance of flavors and textures.
Why This Works
- Flavor balance and ingredient accessibility: The combination of vanilla, buttermilk, and cream cheese provides a well-rounded taste experience that’s both familiar and exciting. Plus, all the ingredients are easily found in most grocery stores.
- Ease of preparation: Despite its impressive outcome, this recipe requires minimal effort. The instructions are simple, and the cake mixes up quickly, making it a great choice for busy days.
- Impressive results with minimal effort: The moistness of the cake, paired with the creamy glaze, creates a dessert that looks and tastes like it was made in a professional bakery, all without requiring advanced baking techniques.
Ingredients
- 2 ¾ cups all-purpose flour
- 2 teaspoons baking powder
- 1 teaspoon salt
- 1 cup unsalted butter, softened
- 1 ¾ cups granulated sugar
- 4 large eggs, at room temperature
- 2 teaspoons pure vanilla extract
- 1 cup buttermilk
- For the glaze: 8 ounces cream cheese, softened, 1/2 cup unsalted butter, softened, 1 teaspoon vanilla extract, 2 cups powdered sugar
Instructions
- Step 1: Preheat your oven to 325°F (160°C). Prepare a 9×5-inch loaf pan by greasing it and lining it with parchment paper.
- Step 2: In a medium bowl, whisk together the flour, baking powder, and salt. Set aside.
- Step 3: Using an electric mixer, beat the butter until creamy, then gradually add the sugar and beat until light and fluffy. Beat in the eggs one at a time, allowing each egg to fully incorporate before adding the next, and mix in the vanilla extract.
- Step 4: With the mixer on low speed, gradually add the flour mixture to the butter mixture in three parts, alternating with the buttermilk, beginning and ending with the flour mixture. Beat just until combined.
- Step 5: Pour the batter into the prepared loaf pan and smooth the top. Bake for 55-60 minutes or until a toothpick inserted into the center comes out clean. Let the cake cool in the pan for 10 minutes before transferring it to a wire rack to cool completely.
- Step 6: For the glaze, beat the cream cheese and butter until smooth. Add the vanilla extract and mix well. Gradually add the powdered sugar, beating until smooth and creamy. Adjust the glaze consistency as needed by adding more powdered sugar to thicken or a bit of milk to thin.
- Step 7: Once the cake is completely cool, drizzle the cream cheese glaze over the top. You can adjust the amount of glaze to your liking, and feel free to decorate with additional toppings such as chopped nuts or fresh fruit.
Handy Tips
- Ensure all your ingredients are at room temperature for the best results. This is especially important for the eggs and butter, as it will make the mixing process much smoother and help the cake to bake evenly.
- Don’t overmix the batter, as this can lead to a dense cake. Stop mixing as soon as the ingredients come together in a smooth batter.
- For an extra moist cake, avoid overbaking. The cake is done when a toothpick inserted into the center comes out clean or with a few moist crumbs attached.
Heat Control
The ideal temperature for baking this cake is 325°F (160°C), which is slightly lower than standard baking temperatures. This helps the cake to cook slowly and evenly, contributing to its moist texture and preventing it from browning too quickly on the outside. The baking time is approximately 55-60 minutes, but keep an eye on the cake after 50 minutes and check it every 5 minutes thereafter until it’s done.
Crunch Factor
This cake is designed to be moist and tender, rather than crunchy. The outside will have a lightly golden crust, while the inside remains soft and fluffy. To maintain this texture, it’s crucial not to overbake and to let the cake cool completely on a wire rack after baking.
Pro Kitchen Tricks
- To ensure the cake releases easily from the pan, make sure to grease the pan thoroughly and line it with parchment paper. This step is often overlooked but is crucial for preventing the cake from sticking.
- For a more intense vanilla flavor, use high-quality vanilla extract or consider adding a vanilla bean to the batter for an extra depth of flavor.
- Experiment with different types of milk or flavorings in the glaze to create unique variations. For example, using almond extract instead of vanilla or adding a teaspoon of lemon zest can give the glaze a refreshing twist.
Storage Tips
- The cake can be stored at room temperature for up to 3 days. It’s best to keep it in an airtight container to maintain freshness.
- For longer storage, the cake can be frozen for up to 2 months. Wrap it tightly in plastic wrap or aluminum foil and place it in a freezer-safe bag. Thaw at room temperature or refrigerate overnight before serving.
- Glazed cakes are best stored in the refrigerator to prevent the glaze from becoming too soft or runny. Allow the cake to come to room temperature before serving for the best flavor and texture.
Gift Packaging Ideas
This cake makes a wonderful gift, especially when beautifully packaged. Consider wrapping the cooled cake in plastic wrap or aluminum foil and then placing it in a decorative tin or cake box. Adding a ribbon or a gift tag with a personal message can make it an even more thoughtful gift. If you’re gifting the cake with the glaze, you might also include a small container of extra glaze on the side, allowing the recipient to refresh the glaze as needed.
Flavor Variations
- Different spices: Try adding a pinch of cinnamon, nutmeg, or cardamom to the batter for a unique twist on the traditional vanilla flavor.
- Creative toppings: In addition to the cream cheese glaze, consider topping your cake with fresh fruits, chopped nuts, or even a sprinkle of cinnamon sugar for added texture and flavor.
- Ingredient swaps: For a gluten-free version, you can substitute the all-purpose flour with a gluten-free flour blend. Keep in mind that gluten-free baking can be more delicate, so you may need to adjust the ratio of flours and add some xanthan gum to help with texture.
Troubleshooting
- Texture problems: If your cake turns out too dense, it might be due to overmixing the batter. Try to mix your ingredients just until they come together, and avoid overbeating, especially when adding the flour.
- Ingredient replacements: If you don’t have buttermilk, you can make a substitute by mixing 1 cup of milk with 1 tablespoon of white vinegar or lemon juice. Let it sit for 5-10 minutes to thicken before using.
- Over/undercooking signs: An undercooked cake will be soggy in the center, while an overcooked cake will be dry and possibly cracked on top. Adjust your baking time as needed, and use a toothpick to check for doneness.
FAQs
- Can I freeze it? Yes, the cake can be frozen for up to 2 months. It’s best to freeze it without the glaze and then glaze it after thawing.
- Is it gluten-free? The original recipe is not gluten-free, but you can make it gluten-free by substituting the all-purpose flour with a gluten-free flour blend.
- Can I double the recipe? Yes, you can double the recipe to make a larger cake. Just keep in mind that you’ll need to adjust the baking time accordingly. A larger cake will take longer to bake, so check it frequently to avoid overcooking.
Conclusion
Making a Moist Vanilla Buttermilk Pound Cake with Cream Cheese Glaze is a rewarding baking experience that yields a deliciously moist and flavorful cake. With its straightforward instructions and accessible ingredients, this recipe is perfect for anyone looking to impress with a homemade dessert. Don’t be afraid to experiment with different flavors and toppings to make the recipe your own, and enjoy the process of creating something truly special. Whether you’re baking for a crowd or just a quiet evening at home, this cake is sure to become a favorite.