🍊 No Bake Orange Creamsicle Truffles – Refreshing and Easy!
Introduction
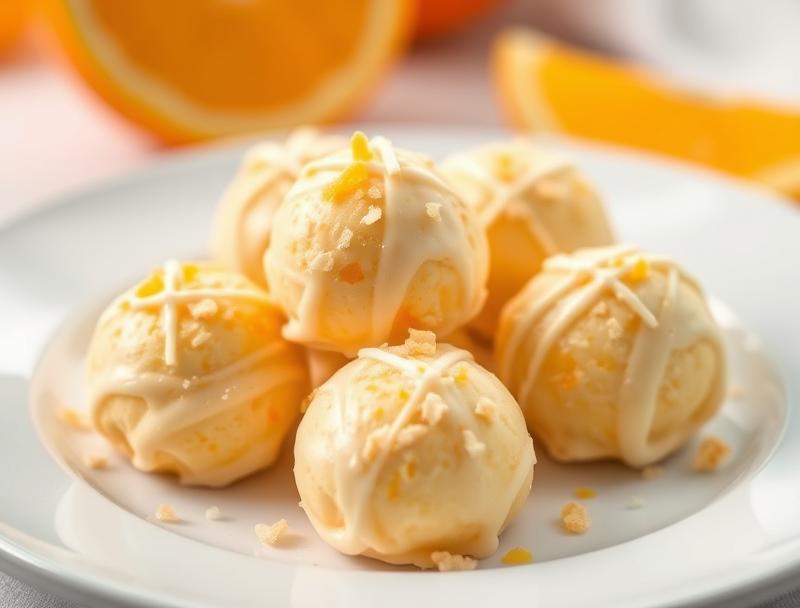
Welcome to the world of no-bake desserts, where creativity knows no bounds and the flavors are as vibrant as the colors. Today, we’re diving into a recipe that combines the classic taste of orange creamsicles with the convenience of a no-bake treat: the No Bake Orange Creamsicle Truffles. These bite-sized truffles are not only a feast for the eyes with their bright orange hue, but they’re also a symphony of flavors that will transport you back to the carefree days of summer. The best part? They’re incredibly easy to make, requiring no cooking whatsoever, just a few simple ingredients, and some chilled time in the refrigerator. Whether you’re a seasoned baker looking for a break from the heat or a beginner in the culinary world, these truffles are the perfect project to undertake.
Why This Works
- The balance of orange and cream flavors, combined with the accessibility of the ingredients, makes this dessert a winner. You likely have most of the ingredients in your pantry, and the rest are easily found in any grocery store.
- The preparation is straightforward and quick. With no baking involved, you save time and effort, making it perfect for last-minute gatherings or a spontaneous sweet treat.
Ingredients
- 1 can (14 oz) of sweetened condensed milk
- 1/2 cup of cream cheese, softened
- 1 teaspoon of vanilla extract
- 1/2 teaspoon of orange zest
- 2 tablespoons of orange juice
- 1 cup of powdered sugar
- 1/2 cup of white chocolate chips
- Orange food coloring (optional, but recommended for the signature orange color)
- Confectioners’ sugar, for dusting
Instructions
- Step 1: In a large mixing bowl, combine the sweetened condensed milk, cream cheese, vanilla extract, orange zest, and orange juice. Mix until smooth and well combined.
- Step 2: Gradually add the powdered sugar to the mixture, beating until smooth and creamy. If the mixture is too thick, you can add a little more orange juice. If it’s too thin, add a bit more powdered sugar.
- Step 3: Cover the bowl with plastic wrap and refrigerate the mixture for at least 2 hours or overnight to allow it to chill and firm up.
- Step 4: Once the mixture is chilled, use a cookie scoop or your hands to form the mixture into small balls, about 1 inch in diameter. You should end up with around 20-25 truffles.
- Step 5: Melt the white chocolate chips in a double boiler or in the microwave in 30-second increments, stirring between each interval until smooth. If using orange food coloring, add a few drops to the melted white chocolate and mix well.
- Step 6: Dip each truffle into the melted white chocolate, coating completely. Tap off any excess chocolate by gently tapping the fork or dipping tool against the side of the bowl.
- Step 7: Place the coated truffles on a parchment-lined baking sheet or a silicone mat. Refrigerate for another 30 minutes to set the chocolate.
- Step 8: Once set, dust the truffles with confectioners’ sugar and serve. You can store them in an airtight container in the refrigerator for up to 5 days.
Handy Tips
- For the best flavor, use high-quality ingredients, especially the orange zest and juice, as they provide the most intense orange flavor.
- If you find the mixture too sticky to work with, refrigerate it for a bit longer. Conversely, if it’s too hard, let it sit at room temperature for about 30 minutes to soften slightly.
- Experiment with different extracts (like almond or coconut) for unique flavor twists, though keep in mind that orange is the star of the show here.
Heat Control
Since this recipe is no-bake, the only heat control you’ll need to worry about is melting the white chocolate. Be careful not to overheat the chocolate, as it can seize up and become unusable. Melting it in short increments and stirring between each heating cycle can help prevent this.
Crunch Factor
The crunch factor in these truffles comes from the hardened white chocolate exterior, providing a nice textural contrast to the creamy interior. To achieve this, make sure the chocolate is fully set before serving. If you want an extra crunchy element, you could also sprinkle some chopped nuts or orange zest on top of the truffles before the chocolate sets.
Pro Kitchen Tricks
- Use a thermometer to ensure your chocolate is at the ideal melting temperature, usually between 105°F and 115°F for white chocolate.
- For a professional finish, use a fork or dipping tool to create a decorative pattern on the truffles as you coat them in chocolate.
- Work in a cool, dry environment to prevent the chocolate from melting or becoming too soft to work with.
Storage Tips
- Store the truffles in an airtight container in the refrigerator to keep them fresh for up to 5 days.
- Avoid storing them at room temperature for extended periods, as the chocolate can melt and the truffles can become soggy.
- If you plan to serve them at a later date, consider freezing them. Place the truffles in a single layer in a freezer-safe bag or container and freeze for up to 2 months. Thaw frozen truffles in the refrigerator overnight before serving.
Gift Packaging Ideas
These truffles are perfect for gifting, especially during the holiday season or for special occasions. Consider packaging them in decorative tins, glass jars, or even small gift boxes lined with parchment paper or decorative tissue paper. You can also wrap each truffle individually in colored foil or paper for a more personalized touch. Add a ribbon around the container and a gift tag, and you have a beautiful, edible gift that’s sure to impress.
Flavor Variations
- Try adding a teaspoon of liqueur (like Grand Marnier or Cointreau) to the mixture for a grown-up twist.
- Experiment with different types of citrus zest, like lemon or lime, for a variation in flavor.
- Coat the truffles in different types of chocolate (milk, dark, or a combination) for a different flavor profile.
Troubleshooting
- If your truffles are too soft, they may not have been chilled long enough. Refrigerate them for a few more hours or until they firm up.
- If the chocolate doesn’t set, it might be due to the temperature or humidity in your kitchen. Try refrigerating the truffles for about 10 minutes to speed up the setting process.
- If you notice any blooming (a white, powdery coating) on the chocolate, it’s usually due to temperature changes. While it doesn’t affect the taste, it can be prevented by storing the truffles in a cool, dry place.
FAQs
- Can I freeze the truffles? Yes, you can freeze them for up to 2 months. Thaw overnight in the refrigerator before serving.
- Are these truffles gluten-free? Yes, the ingredients used are gluten-free, making them suitable for those with gluten intolerance or sensitivity.
- Can I double the recipe? Absolutely. Just keep in mind that you’ll need to adjust the chilling time slightly if the mixture is larger.
Conclusion
Making the No Bake Orange Creamsicle Truffles is a delightful adventure that combines ease, creativity, and deliciousness. With their vibrant color and enticing aroma, these truffles are sure to be a hit at any gathering. Feel free to experiment with the recipe, adding your own twists and flavors to make it truly yours. Whether you’re a fan of oranges, creamsicles, or just looking for a fun project to enjoy with family and friends, this recipe has something for everyone. So go ahead, get creative, and indulge in the sweetness of these no-bake wonders!
🍊 No Bake Orange Creamsicle Truffles – Refreshing and Easy!
A no-bake dessert recipe that captures the essence of orange creamsicles in bite-sized truffles, perfect for any occasion.
🥘 Ingredients
👩🍳 Instructions
-
1Combine the sweetened condensed milk, cream cheese, vanilla extract, orange zest, and orange juice in a bowl and mix until smooth.
-
2Gradually add the powdered sugar and mix until well combined.
-
3Chill the mixture in the refrigerator for at least 2 hours or overnight.
-
4Form the mixture into small balls and melt the white chocolate.
-
5Coat each truffle in the melted white chocolate and refrigerate until set.
-
6Dust with confectioners' sugar and serve or store in an airtight container in the refrigerator for up to 5 days.