Easy Espresso Brownies Recipe with Rich Chocolate Flavor
Introduction
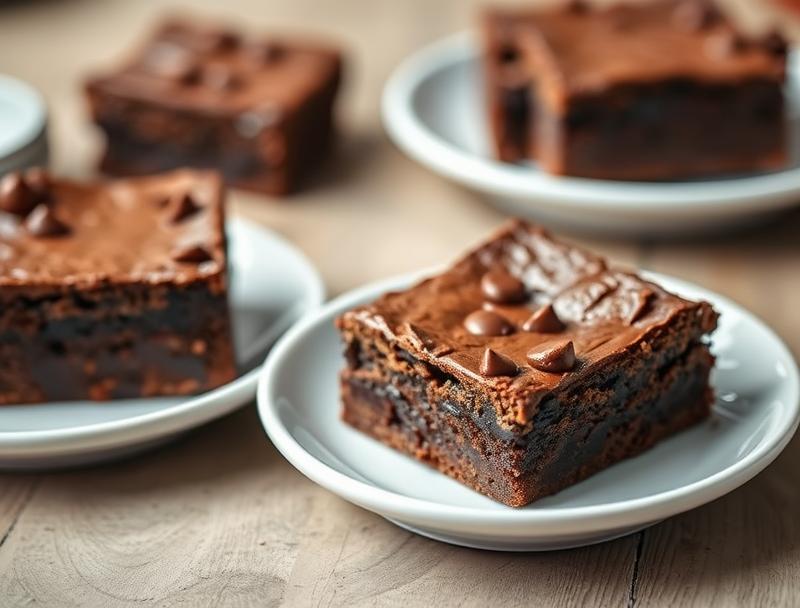
Indulge in the decadence of rich, velvety chocolate and the deep, bold flavor of espresso with our Easy Espresso Brownies Recipe. This delightful dessert is not only a treat for the taste buds but also incredibly easy to make, requiring minimal effort and everyday ingredients. The combination of dark chocolate and espresso creates a depth of flavor that is sure to impress, making it perfect for both casual gatherings and special occasions. Whether you’re a chocolate aficionado, a coffee lover, or simply someone who appreciates the finer things in life, this recipe is sure to become a new favorite.
Why This Works
- The balance of flavors between the bitterness of the espresso and the sweetness of the chocolate creates a perfectly harmonious taste experience, making each bite a delight.
- The ease of preparation is a significant advantage, as it requires minimal specialized equipment and can be made with ingredients commonly found in most kitchens.
- Despite the simplicity of the recipe, the results are impressive, with a fudgy texture and an intense flavor profile that belies the ease of preparation, making it perfect for impressing friends and family.
Ingredients
- 1 and 1/2 sticks of unsalted butter (12 tablespoons), plus more for greasing the pan
- 2 cups of sugar
- 4 large eggs
- 1/2 cup of unsweetened cocoa powder
- 1 teaspoon of vanilla extract
- 1 and 1/4 cups of all-purpose flour
- 1 teaspoon of salt
- 1 cup of semi-sweet chocolate chips
- 2 teaspoons of instant espresso powder
- 1 cup of chopped walnuts (optional)
Instructions
- Step 1: Preheat your oven to 350°F (180°C). Grease an 8-inch square baking pan with butter and line it with parchment paper, leaving some overhang for easy removal.
- Step 2: In a medium bowl, whisk together the flour, salt, and espresso powder. Set aside.
- Step 3: In a large bowl, use an electric mixer to beat together the butter and sugar until light and fluffy, about 2 minutes. Beat in the eggs one at a time, followed by the vanilla extract.
- Step 4: In a separate bowl, melt the chocolate chips in the microwave in 30-second increments, stirring between each interval, until smooth. Allow the chocolate to cool slightly, then beat it into the butter mixture until well combined.
- Step 5: Gradually mix in the flour mixture until just combined, being careful not to overmix. If using walnuts, fold them into the batter at this stage.
- Step 6: Pour the batter into the prepared baking pan and smooth the top.
- Step 7: Bake for 25-30 minutes or until a toothpick inserted into the center comes out with a few moist crumbs attached. Avoid overbaking, as it can make the brownies dry.
- Step 8: Remove from the oven and let cool completely in the pan before cutting into squares and serving.
Handy Tips
- For an intense chocolate experience, use high-quality dark or semi-sweet chocolate chips.
- Don’t overmix the batter, as it can lead to dense brownies. Stop mixing as soon as the ingredients are combined.
- If you prefer a chewier texture, bake for 23-25 minutes. For firmer brownies, bake for 30-35 minutes.
Heat Control
Maintaining the right temperature is crucial. Ensure your oven is at 350°F (180°C) for the best results. The baking time may vary depending on your oven’s performance, so keep an eye on the brownies after 20 minutes and check them every 5 minutes thereafter.
Crunch Factor
The addition of walnuts provides a delightful crunch, contrasting beautifully with the fudgy texture of the brownies. If you choose to include them, ensure they are evenly distributed throughout the batter for the best texture experience.
Pro Kitchen Tricks
- For cleaner cutting, refrigerate the brownies for about 30 minutes before slicing. This will help them hold their shape and prevent crumbling.
- Experiment with different types of coffee or espresso for varying flavor profiles. Some espressos can have fruity or chocolatey notes that will enhance the brownies’ flavor.
- Consider using a water bath for baking to ensure even heating and to prevent the edges from cooking too quickly. This method can help achieve a uniformly fudgy texture throughout the brownies.
Storage Tips
- Store the brownies in an airtight container at room temperature for up to 3 days. They can also be refrigerated for up to 5 days or frozen for up to 2 months.
- For the best flavor and texture, allow frozen brownies to thaw at room temperature or reheat them gently in the microwave or oven.
Gift Packaging Ideas
These brownies make a wonderful gift, especially when packaged thoughtfully. Consider placing them in decorative tin boxes, gift baskets, or even mason jars. Adding a ribbon or a handwritten note can make the gift even more special and personalized.
Flavor Variations
- Try adding different spices like cinnamon, nutmeg, or cayenne pepper to create unique flavor combinations.
- Experiment with various types of chocolate chips or chunks, such as white chocolate, milk chocolate, or caramel-filled chocolate for different flavor profiles.
- Replace walnuts with other nuts like pecans, hazelnuts, or almonds for a different texture and flavor.
Troubleshooting
- If your brownies turn out too dry, it might be due to overbaking. Try reducing the baking time in future attempts.
- For brownies that are too dense, ensure you’re not overmixing the batter, and consider adding an extra egg to enhance moisture.
- If you encounter issues with the brownies not cooking evenly, check your oven’s temperature accuracy and consider using a water bath for more uniform heating.
FAQs
- Can I freeze the brownies? Yes, they can be frozen for up to 2 months. Wrap them tightly in plastic wrap or aluminum foil and place them in a freezer-safe bag.
- Is this recipe gluten-free? The recipe as given contains gluten due to the all-purpose flour. However, you can experiment with gluten-free flours as a substitute, though the texture might vary slightly.
- Can I double the recipe? Yes, you can double the recipe, but you might need to adjust the baking time slightly. Keep a close eye on the brownies after 30 minutes and check them every 5 minutes thereafter until they’re done to your liking.
Conclusion
With its rich, intense flavor and ease of preparation, the Easy Espresso Brownies Recipe is sure to become a staple in your dessert repertoire. Whether you’re a seasoned baker or a beginner, this recipe offers a delightful combination of chocolate and espresso that is hard to resist. Feel free to experiment with the ingredients and tips provided to make the recipe your own, and don’t hesitate to share your creations with friends and family. Happy baking, and enjoy the journey of exploring the world of flavors that these brownies have to offer!
Easy Espresso Brownies Recipe with Rich Chocolate Flavor
A decadent and easy-to-make dessert combining the richness of dark chocolate and the boldness of espresso, perfect for any chocolate lover.
🥘 Ingredients
👩🍳 Instructions
-
1Preheat the oven to 350°F (180°C). Grease an 8-inch square baking pan with butter and line it with parchment paper.
-
2Whisk together the flour, salt, and espresso powder in a medium bowl. Set aside.
-
3Beat together the butter and sugar until light and fluffy. Beat in the eggs one at a time, followed by the vanilla extract.
-
4Melt the chocolate chips and allow them to cool slightly. Beat the chocolate into the butter mixture until well combined.
-
5Gradually mix in the flour mixture until just combined. If using walnuts, fold them into the batter.
-
6Pour the batter into the prepared baking pan and smooth the top.
-
7Bake for 25-30 minutes or until a toothpick inserted into the center comes out with a few moist crumbs attached.
-
8Let cool completely in the pan before cutting into squares and serving.