Easy Espresso Brownies Recipe with Rich Chocolate Flavor
Introduction
Indulge in the decadence of rich, velvety chocolate and the deep, bold flavor of espresso with our Easy Espresso Brownies Recipe. This recipe is perfect for anyone looking to satisfy their chocolate cravings without spending hours in the kitchen. Using everyday ingredients and simple steps, you can create a dessert that’s not only delicious but also impressive. Whether you’re a chocolate aficionado, an espresso lover, or just someone who appreciates the simplicity of a well-crafted dessert, this recipe is sure to delight. The combination of dark chocolate and espresso creates a depth of flavor that’s hard to resist, and the best part is, it’s incredibly easy to make.
Why This Works
- The balance of flavors between the dark chocolate and espresso is perfectly complemented by the sweetness of the sugar, creating a delightful harmony of tastes.
- The preparation is straightforward and requires minimal effort, making it accessible to bakers of all skill levels.
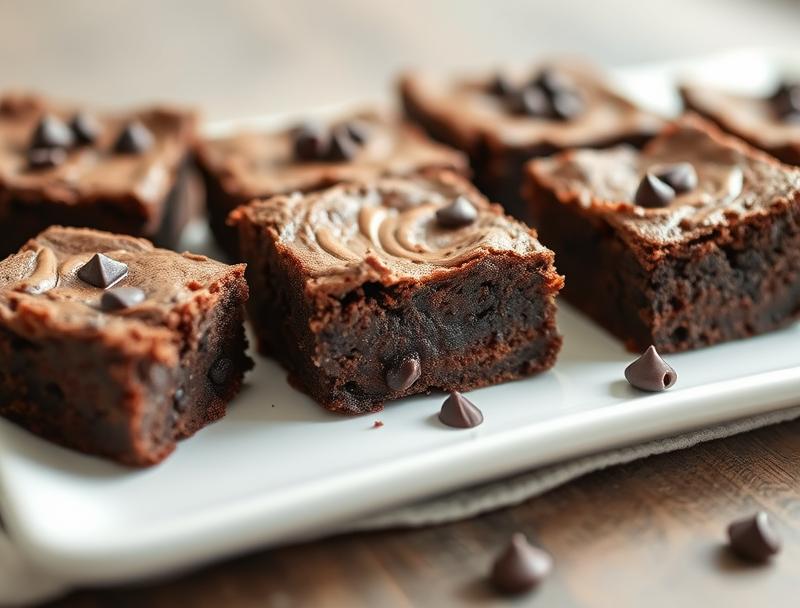
- The end result is a batch of brownies that are not only delicious but also visually appealing, with their glossy tops and gooey centers, perfect for impressing friends and family.
Ingredients
- 1 and 1/2 sticks of unsalted butter (12 tablespoons), plus more for greasing the pan
- 2 cups of sugar
- 4 large eggs
- 1/2 cup of unsweetened cocoa powder
- 1 teaspoon of vanilla extract
- 1 and 1/4 cups of all-purpose flour
- 1 teaspoon of salt
- 1 cup of semi-sweet chocolate chips
- 2 teaspoons of instant espresso powder
- 1 cup of chopped walnuts (optional)
Instructions
- Step 1: Preheat your oven to 350°F (180°C). Grease an 8-inch square baking pan with butter and line it with parchment paper, leaving some overhang for easy removal.
- Step 2: In a medium bowl, whisk together the flour, salt, and espresso powder. Set aside.
- Step 3: In a large bowl, use an electric mixer to beat together the butter and sugar until light and fluffy, about 2 minutes. Beat in the eggs one at a time, followed by the vanilla extract.
- Step 4: Melt the chocolate chips in a double boiler or in the microwave in 30-second increments, stirring between each interval until smooth. Allow the chocolate to cool slightly.
- Step 5: Add the flour mixture to the wet ingredients and mix until just combined. Then, pour in the melted chocolate and mix until the batter is smooth.
- Step 6: If using walnuts, fold them into the batter at this stage.
- Step 7: Pour the batter into the prepared baking pan and smooth the top.
- Step 8: Bake for 25-30 minutes or until a toothpick inserted into the center comes out with a few moist crumbs attached.
- Step 9: Remove from the oven and let cool completely in the pan before cutting into squares and serving.
Handy Tips
- For an intense chocolate experience, use high-quality dark or semi-sweet chocolate.
- Don’t overmix the batter, as this can lead to dense brownies.
- If you’re not a fan of walnuts, you can substitute them with pecans or hazelnuts for a different flavor profile.
- Always use room temperature ingredients for better mixing and aeration.
Heat Control
When baking, ensure your oven is at the correct temperature, as this can affect the texture and doneness of the brownies. The ideal baking time is between 25-30 minutes, but this can vary depending on your oven. A toothpick inserted into the center should come out with a few moist crumbs, indicating the brownies are cooked through but still fudgy.
Crunch Factor
The addition of nuts like walnuts provides a satisfying crunch to the brownies, contrasting beautifully with the gooey chocolate. If you prefer a chewier texture, bake for 23-25 minutes. For a firmer brownie, bake for an additional 2-3 minutes, keeping an eye on them to prevent overcooking.
Pro Kitchen Tricks
- Use a water bath for more even baking and to prevent the edges from cooking too quickly.
- Don’t open the oven door during the baking time, as this can cause the brownies to sink.
- For cleaner cutting, refrigerate the brownies for about 30 minutes before slicing.
Storage Tips
- Store the brownies in an airtight container at room temperature for up to 3 days.
- For longer storage, wrap the brownies tightly and freeze for up to 2 months. Thaw at room temperature or reheat in the microwave.
- Consider using glass or plastic containers with tight-fitting lids to keep the brownies fresh.
Gift Packaging Ideas
<
p”These brownies make a wonderful gift, especially when packaged in decorative tin boxes, jars, or wrapped in colorful paper and twine. Consider adding a personal touch with a handwritten note or a sprinkle of powdered sugar on top. For a more rustic look, use a burlap bag or a wooden crate, perfect for a homemade gift.
Flavor Variations
- Try adding different spices like cinnamon or cayenne pepper for a unique twist.
- Experiment with various types of chocolate chips or chunks for different flavor profiles.
- Swap the walnuts for other nuts or even dried cranberries for a fruity surprise.
Troubleshooting
- If your brownies turn out too dense, check if you overmixed the batter or if your oven temperature was off.
- For brownies that are too dry, they might have been overbaked. Keep an eye on them next time and adjust the baking time as needed.
- If you notice the top cracking, this could be due to the sudden change in temperature when removing them from the oven. Let them cool in the pan for a few minutes before transferring to a wire rack.
FAQs
- Can I freeze the batter instead of the baked brownies? Yes, you can freeze the batter for up to a month. Simply thaw overnight in the fridge before baking.
- Is this recipe gluten-free? The recipe as stated contains gluten due to the all-purpose flour. However, you can substitute the flour with a gluten-free flour mix for a gluten-free version.
- Can I double the recipe? Absolutely, just ensure you have a large enough baking pan. A 9×13 inch pan would be ideal for a doubled recipe.
Conclusion
With the Easy Espresso Brownies Recipe, you’re just a step away from creating a dessert that’s sure to please even the most discerning palates. Whether you’re baking for a special occasion or just a Tuesday, these brownies are the perfect treat. Feel free to experiment with the recipe, adding your own favorite nuts, spices, or even a splash of liqueur for an adult twist. The key to a great brownie is in the balance of flavors and textures, and with this recipe, you’ve got a solid foundation to build upon. So go ahead, get baking, and indulge in the rich, chocolatey goodness that these espresso brownies have to offer.
Easy Espresso Brownies Recipe with Rich Chocolate Flavor
A simple and decadent recipe for espresso brownies with a rich chocolate flavor, perfect for satisfying any chocolate craving.
🥘 Ingredients
👩🍳 Instructions
-
1Preheat the oven to 350°F (180°C).
-
2Grease an 8-inch square baking pan with butter and line it with parchment paper.
-
3Prepare the ingredients according to the recipe instructions.
-
4Mix the batter and pour it into the prepared baking pan.
-
5Bake for 25-30 minutes or until a toothpick inserted into the center comes out with a few moist crumbs attached.
-
6Let cool completely in the pan before cutting into squares and serving.