Decadent French Silk Pie Bars Recipe
Introduction
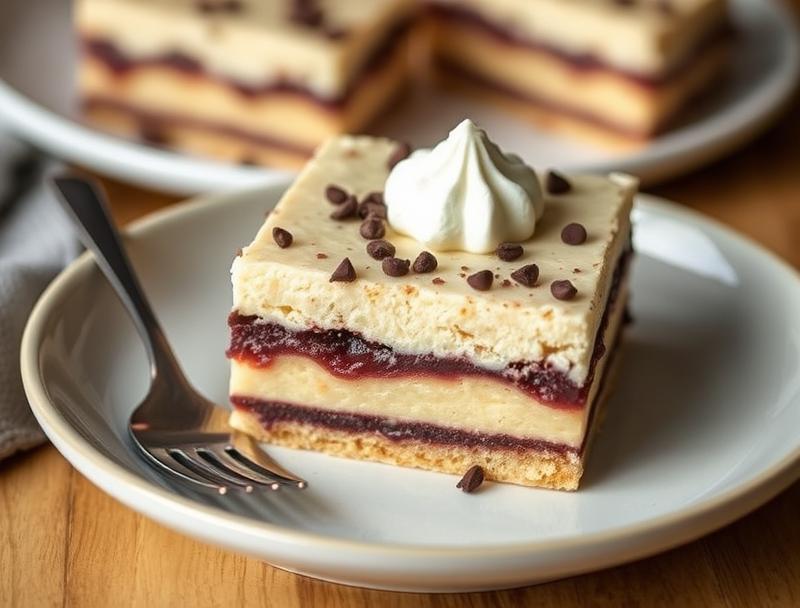
Imagine a dessert that combines the richness of chocolate, the smoothness of silk, and the convenience of a bar dessert. Welcome to the world of Decadent French Silk Pie Bars, where every bite is a testament to the perfect blend of flavors and textures. This recipe is not only easy to make but also incredibly versatile, allowing you to impress your friends and family with minimal effort. Using everyday ingredients, you can create a masterpiece that tastes like it was plucked straight from a French patisserie. In this article, we’ll guide you through the process of making these divine bars, from preparation to presentation, and share some expert tips to make your dessert truly unforgettable.
Why This Works
- Flavor balance and ingredient accessibility: The combination of a buttery crust, a rich chocolate filling, and a touch of sweetness creates a perfect harmony of flavors. Moreover, the ingredients are easily found in most supermarkets, making this recipe accessible to everyone.
- Ease of preparation: Despite its decadent taste, this dessert is surprisingly easy to prepare. The steps are straightforward, and the ingredients are simple to work with, even for those who are new to baking.
- Impressive results with minimal effort: The best part of this recipe is the impressive presentation and taste it yields with relatively minimal effort. It’s perfect for special occasions or as a surprise dessert for your loved ones.
Ingredients
- 1 1/2 cups all-purpose flour
- 1/2 cup granulated sugar
- 1/4 cup unsalted butter, softened
- 1/2 cup unsweetened cocoa powder
- 1/2 cup heavy cream
- 2 large eggs
- 1 teaspoon vanilla extract
- 1/4 teaspoon salt
- 1 cup semisweet chocolate chips
- 1 cup chopped walnuts (optional)
Instructions
- Step 1: Prepare the Crust – Preheat your oven to 350°F (180°C). In a medium bowl, whisk together the flour and sugar. Add the softened butter and mix until the mixture forms a crumbly dough. Press this dough into a 9×9-inch baking dish lined with parchment paper. Bake for 20-25 minutes or until lightly golden. Let it cool completely.
- Step 2: Make the Filling – In a large bowl, whisk together the cocoa powder, heavy cream, eggs, vanilla extract, and salt until smooth. Melt the chocolate chips in a double boiler or in the microwave in 30-second increments, stirring between each interval until smooth. Allow the chocolate to cool slightly, then fold it into the cocoa mixture until well combined.
- Step 3: Assemble and Bake – Pour the chocolate filling over the cooled crust. If using walnuts, sprinkle them on top. Bake for an additional 25-30 minutes or until the edges are set, and the center is slightly jiggly. Let it cool completely in the pan before refrigerating for at least 2 hours or overnight.
- Step 4: Cut and Serve – Once chilled, lift the bars out of the pan using the parchment paper and cut into squares. Serve chilled, garnished with whipped cream or chocolate shavings if desired.
Handy Tips
- For a firmer texture, bake the filling for an additional 5-10 minutes. Keep an eye on it to avoid overcooking.
- Substitute the heavy cream with half-and-half or whole milk for a lighter version, though the texture might be slightly different.
- Avoid overmixing the crust and filling to prevent a dense final product.
Heat Control
When baking the crust and the filling, it’s crucial to keep an eye on the temperature and timing. The crust should be lightly golden, and the filling should be set at the edges with a slight jiggle in the center. Overbaking can lead to dry, crumbly bars, so it’s better to err on the side of underbaking slightly.
Crunch Factor
The addition of walnuts provides a delightful crunch to these bars, contrasting beautifully with the smooth chocolate filling. If you prefer a different texture, you can substitute the walnuts with other nuts like pecans or hazelnuts, or even use cookie crumbs for a fun twist.
Pro Kitchen Tricks
- Use high-quality chocolate for the best flavor. While it might be tempting to use cheaper alternatives, the difference in taste is noticeable.
- Don’t overbake. It’s easy to get carried away and overcook the bars, but this can lead to a dry, unappetizing texture.
- Let it cool and chill properly. The cooling and chilling process is crucial for the bars to set properly and for the flavors to meld together.
Storage Tips
- These bars can be stored in an airtight container in the refrigerator for up to 5 days. Let them come to room temperature before serving for the best taste and texture.
- For longer storage, consider freezing the bars. Cut them into squares, place them on a baking sheet lined with parchment paper, and freeze until solid. Then, transfer them to a freezer-safe bag or container for up to 2 months. Thaw frozen bars in the refrigerator overnight.
Gift Packaging Ideas
These decadent bars make for a wonderful gift, especially when packaged nicely. Consider placing them in a decorative tin or a gift box lined with parchment paper. You can also wrap individual bars in plastic wrap or aluminum foil and place them in a gift bag. Add a personal touch with a ribbon or a handwritten note for a thoughtful and delicious gift.
Flavor Variations
- Different spices: Add a pinch of salt or a teaspoon of espresso powder to the filling for a deeper flavor profile.
- Creative toppings: Instead of walnuts, try using other nuts, shredded coconut, or even candy pieces for a fun twist.
- Ingredient swaps: Use almond flour for the crust for a gluten-free version, or substitute the heavy cream with a non-dairy milk for a vegan alternative.
Troubleshooting
- Texture problems: If your bars turn out too dry, they might have been overbaked. If they’re too gooey, they might not have been baked long enough.
- Ingredient replacements: Always try to use the ingredients listed for the best results. However, if you need to make substitutions, do so thoughtfully and in small increments to avoid altering the final product significantly.
- Over/undercooking signs: Keep an eye on your bars while they’re baking. The crust should be lightly golden, and the filling should be set with a slight jiggle in the center.
FAQs
- Can I freeze it? Yes, these bars can be frozen for up to 2 months. See the storage tips section for more details.
- Is it gluten-free? The original recipe includes wheat flour, making it not gluten-free. However, you can make a gluten-free version by substituting the flour with a gluten-free alternative.
- Can I double the recipe? Yes, you can double the recipe to make a larger batch. Just remember to adjust the baking time accordingly, as a larger batch will take longer to cook through.
Conclusion
Making Decadent French Silk Pie Bars is a journey of discovery, from the simplicity of preparation to the complexity of flavors and textures. With these tips, tricks, and variations, you’re not just limited to one recipe but have a foundation to experiment and create your own masterpieces. Whether you’re a seasoned baker or just starting out, this recipe is sure to impress and satisfy any sweet tooth. So, go ahead, take the first step, and indulge in the decadence of French Silk Pie Bars. Happy baking!