Irresistible Homemade Apple Pie Recipe
Introduction
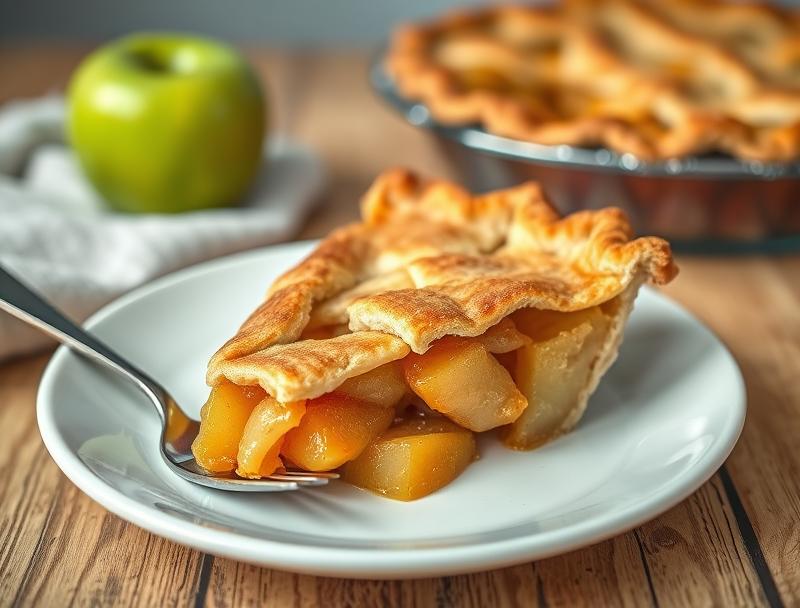
Imagine the warmth of a homemade apple pie, straight from your oven, filling your home with the irresistible aroma of tender apples, flaky crust, and a hint of cinnamon. This classic dessert is not only a staple of comfort food but also a testament to the joy of baking with everyday ingredients. With its perfect balance of sweet and tart, this apple pie recipe is sure to become a family favorite. It’s surprisingly easy to make, requiring minimal effort for such an impressive and delicious outcome. Whether you’re a seasoned baker or a beginner, this recipe is designed to guide you through the process with clarity and simplicity, ensuring that your first bite is nothing short of magical.
Why This Works
- Flavor balance and ingredient accessibility: This recipe combines the natural sweetness of apples with a touch of sugar and spices, all of which are easily found in most kitchens. The result is a beautifully balanced flavor that appeals to a wide range of tastes.
- Ease of preparation: Despite the common perception that making a pie from scratch is complicated, this recipe breaks down the process into manageable steps. Each stage, from preparing the filling to rolling out the crust, is straightforward and requires minimal specialized equipment.
- Impressive results with minimal effort: One of the most satisfying aspects of this recipe is the impressive outcome it yields with relatively little effort. The combination of a flaky, homemade crust and a tender, flavorful filling makes for a dessert that’s sure to impress friends and family.
Ingredients
- 6-8 medium-sized apples, peeled and sliced
- 1/2 cup granulated sugar
- 2 tablespoons all-purpose flour
- 1 teaspoon cinnamon
- 1/4 teaspoon nutmeg
- 1/4 teaspoon salt
- 1/2 cup cold unsalted butter, cut into small pieces
- 1/4 cup shortening, chilled
- 1/4 cup ice water
- 1 egg, beaten (for egg wash)
- 1 tablespoon milk (for egg wash)
Instructions
- Step 1: Prepare the Filling – In a large bowl, combine the sliced apples, granulated sugar, flour, cinnamon, nutmeg, and salt. Mix until the apples are evenly coated with the dry ingredients.
- Step 2: Make the Crust – In another large bowl, whisk together the flour and salt. Add the cold butter and use a pastry blender or your fingers to work it into the flour until the mixture resembles coarse crumbs. Then, add the shortening and continue to blend until the mixture is crumbly. Gradually add the ice water, stirring with a fork until the dough comes together in a ball. Divide the dough in half and shape each half into a disk. Wrap each disk in plastic wrap and refrigerate for at least 1 hour.
- Step 3: Assemble and Bake the Pie – Preheat your oven to 375°F (190°C). On a lightly floured surface, roll out one of the chilled dough disks to a thickness of about 1/8 inch. Transfer the dough to a 9-inch pie dish and trim the edges to fit. Fill the pie crust with the apple mixture and dot the top with any remaining butter pieces. Roll out the second dough disk to a similar size as the first. Use this dough to cover the pie and crimp the edges to seal. Cut a few slits in the top crust to allow steam to escape during baking. Brush the top crust with an egg wash (beaten egg mixed with a little milk) to give it a golden brown finish. Bake the pie for 40-50 minutes, or until the crust is golden brown and the apples are tender.
- Step 4: Final Touches – Remove the pie from the oven and let it cool on a wire rack for at least 30 minutes before serving. This allows the filling to set and makes the pie easier to slice and serve.
Handy Tips
- For an extra flaky crust, keep all your ingredients cold, including the flour if possible, and handle the dough as little as necessary.
- Don’t overmix the filling or the crust dough, as this can lead to a tough pie.
- Experiment with different types of apples to find your favorite combination. Some apples, like Granny Smith, add a nice tartness, while others, like Gala, contribute sweetness.
Heat Control
To achieve the perfect bake, it’s crucial to control the heat. Preheat your oven to 375°F (190°C) and ensure it’s at a stable temperature before baking the pie. The pie is done when the crust is golden brown and the apples are tender. You can check for doneness by inserting a knife into the filling; if it slides in easily, the apples are cooked through.
Crunch Factor
The crunch factor in this apple pie comes from the flaky crust and the slight caramelization of the sugar on the apples during baking. To enhance the crunch, ensure your oven is at the correct temperature, and don’t overbake the pie. A perfectly baked pie will have a crust that’s crispy on the outside and tender on the inside, complementing the soft, flavorful apples.
Pro Kitchen Tricks
- Chill your ingredients and equipment: This is key to making a flaky crust. Cold ingredients help to prevent the butter from melting and the gluten in the flour from developing, which can make the crust tough.
- Don’t overwork the dough: Mix your ingredients just until they come together in a shaggy mass, then stop mixing. Overworking the dough can lead to a tough, dense crust.
- Use the right apples: A combination of sweet, tart, and firm apples will give your pie the best flavor and texture. Experiment with different varieties to find your favorite.
Storage Tips
- Let the pie cool completely before storing it. This helps prevent moisture from accumulating inside the pie and making the crust soggy.
- Store the pie at room temperature for up to 2 days. If you won’t be serving the pie within this timeframe, consider refrigerating or freezing it.
- For longer storage, refrigerate the pie for up to 5 days or freeze it for up to 3 months. When freezing, place the pie in a freezer-safe bag or wrap it tightly in plastic wrap or aluminum foil.
Gift Packaging Ideas
If you’re considering gifting your homemade apple pie, there are several ways to package it beautifully. Wrap the cooled pie in plastic wrap or aluminum foil and place it in a decorative pie box or a gift basket filled with other homemade treats. You could also add a personal touch with a handwritten note or a ribbon around the pie. For a more rustic look, wrap the pie in a tea towel and tie it with twine.
Flavor Variations
- Different spices: Try adding a pinch of nutmeg, cardamom, or allspice to the filling for a unique twist on the classic recipe.
- Creative toppings: Before baking, top the pie with a crumbly mixture of oats, brown sugar, and butter for a streusel topping, or with a handful of chopped nuts for added crunch.
- Ingredient swaps: Substitute some of the granulated sugar with honey or maple syrup for a deeper flavor, or use different types of flour, like whole wheat or almond flour, for a nutritional boost or gluten-free option.
Troubleshooting
- Texture problems: If your crust turns out tough, it might be due to overworking the dough or using warm ingredients. For a filling that’s too runny, you might not have used enough flour or baked the pie long enough.
- Ingredient replacements: If you’re out of a specific spice or type of sugar, feel free to substitute with similar alternatives. However, keep in mind that substitutions can slightly alter the flavor and texture of the pie.
- Over/undercooking signs: An overcooked pie will have a dark, almost burnt crust, and the apples will be mushy. Undercooking results in a pale crust and apples that are still crisp. Adjust your baking time based on your oven’s performance and the pie’s appearance.
FAQs
- Can I freeze it? Yes, you can freeze the pie for up to 3 months. It’s best to freeze it before baking, but you can also freeze a baked pie. When you’re ready to serve, thaw overnight in the fridge and bake as directed, or bake from frozen, adding a few extra minutes to the baking time.
- Is it gluten-free? The traditional recipe includes wheat flour, making it not gluten-free. However, you can easily adapt the recipe by substituting the all-purpose flour with a gluten-free flour blend.
- Can I double the recipe? Yes, you can double the recipe to make two pies. Just keep in mind that you’ll need to adjust the baking time slightly for two pies, as they may take a bit longer to bake through than a single pie.
Conclusion
Making an irresistible homemade apple pie is a rewarding experience that combines the joy of baking with the pleasure of sharing a delicious dessert with loved ones. With its straightforward instructions, accessible ingredients, and impressive results, this recipe is perfect for anyone looking to create a memorable dessert. Feel free to experiment with the recipe, adapting it to your tastes and preferences, and don’t hesitate to reach out if you have any questions or need further guidance. Happy baking, and enjoy the warm, comforting embrace of your homemade apple pie!
Irresistible Homemade Apple Pie Recipe
A classic homemade apple pie recipe with a flaky crust and tender, flavorful apples, perfect for any occasion.
🥘 Ingredients
👩🍳 Instructions
-
1Prepare the filling by mixing the sliced apples, granulated sugar, flour, cinnamon, nutmeg, and salt in a large bowl.
-
2Make the crust by combining flour and salt in another bowl, then adding cold butter and shortening, and gradually mixing in ice water until the dough comes together.
-
3Assemble the pie by rolling out one of the chilled dough disks, placing it in a pie dish, filling it with the apple mixture, and covering it with the second dough disk.
-
4Bake the pie in a preheated oven at 375°F (190°C) for 40-50 minutes, or until the crust is golden brown and the apples are tender.